Unseen
senior capstone project
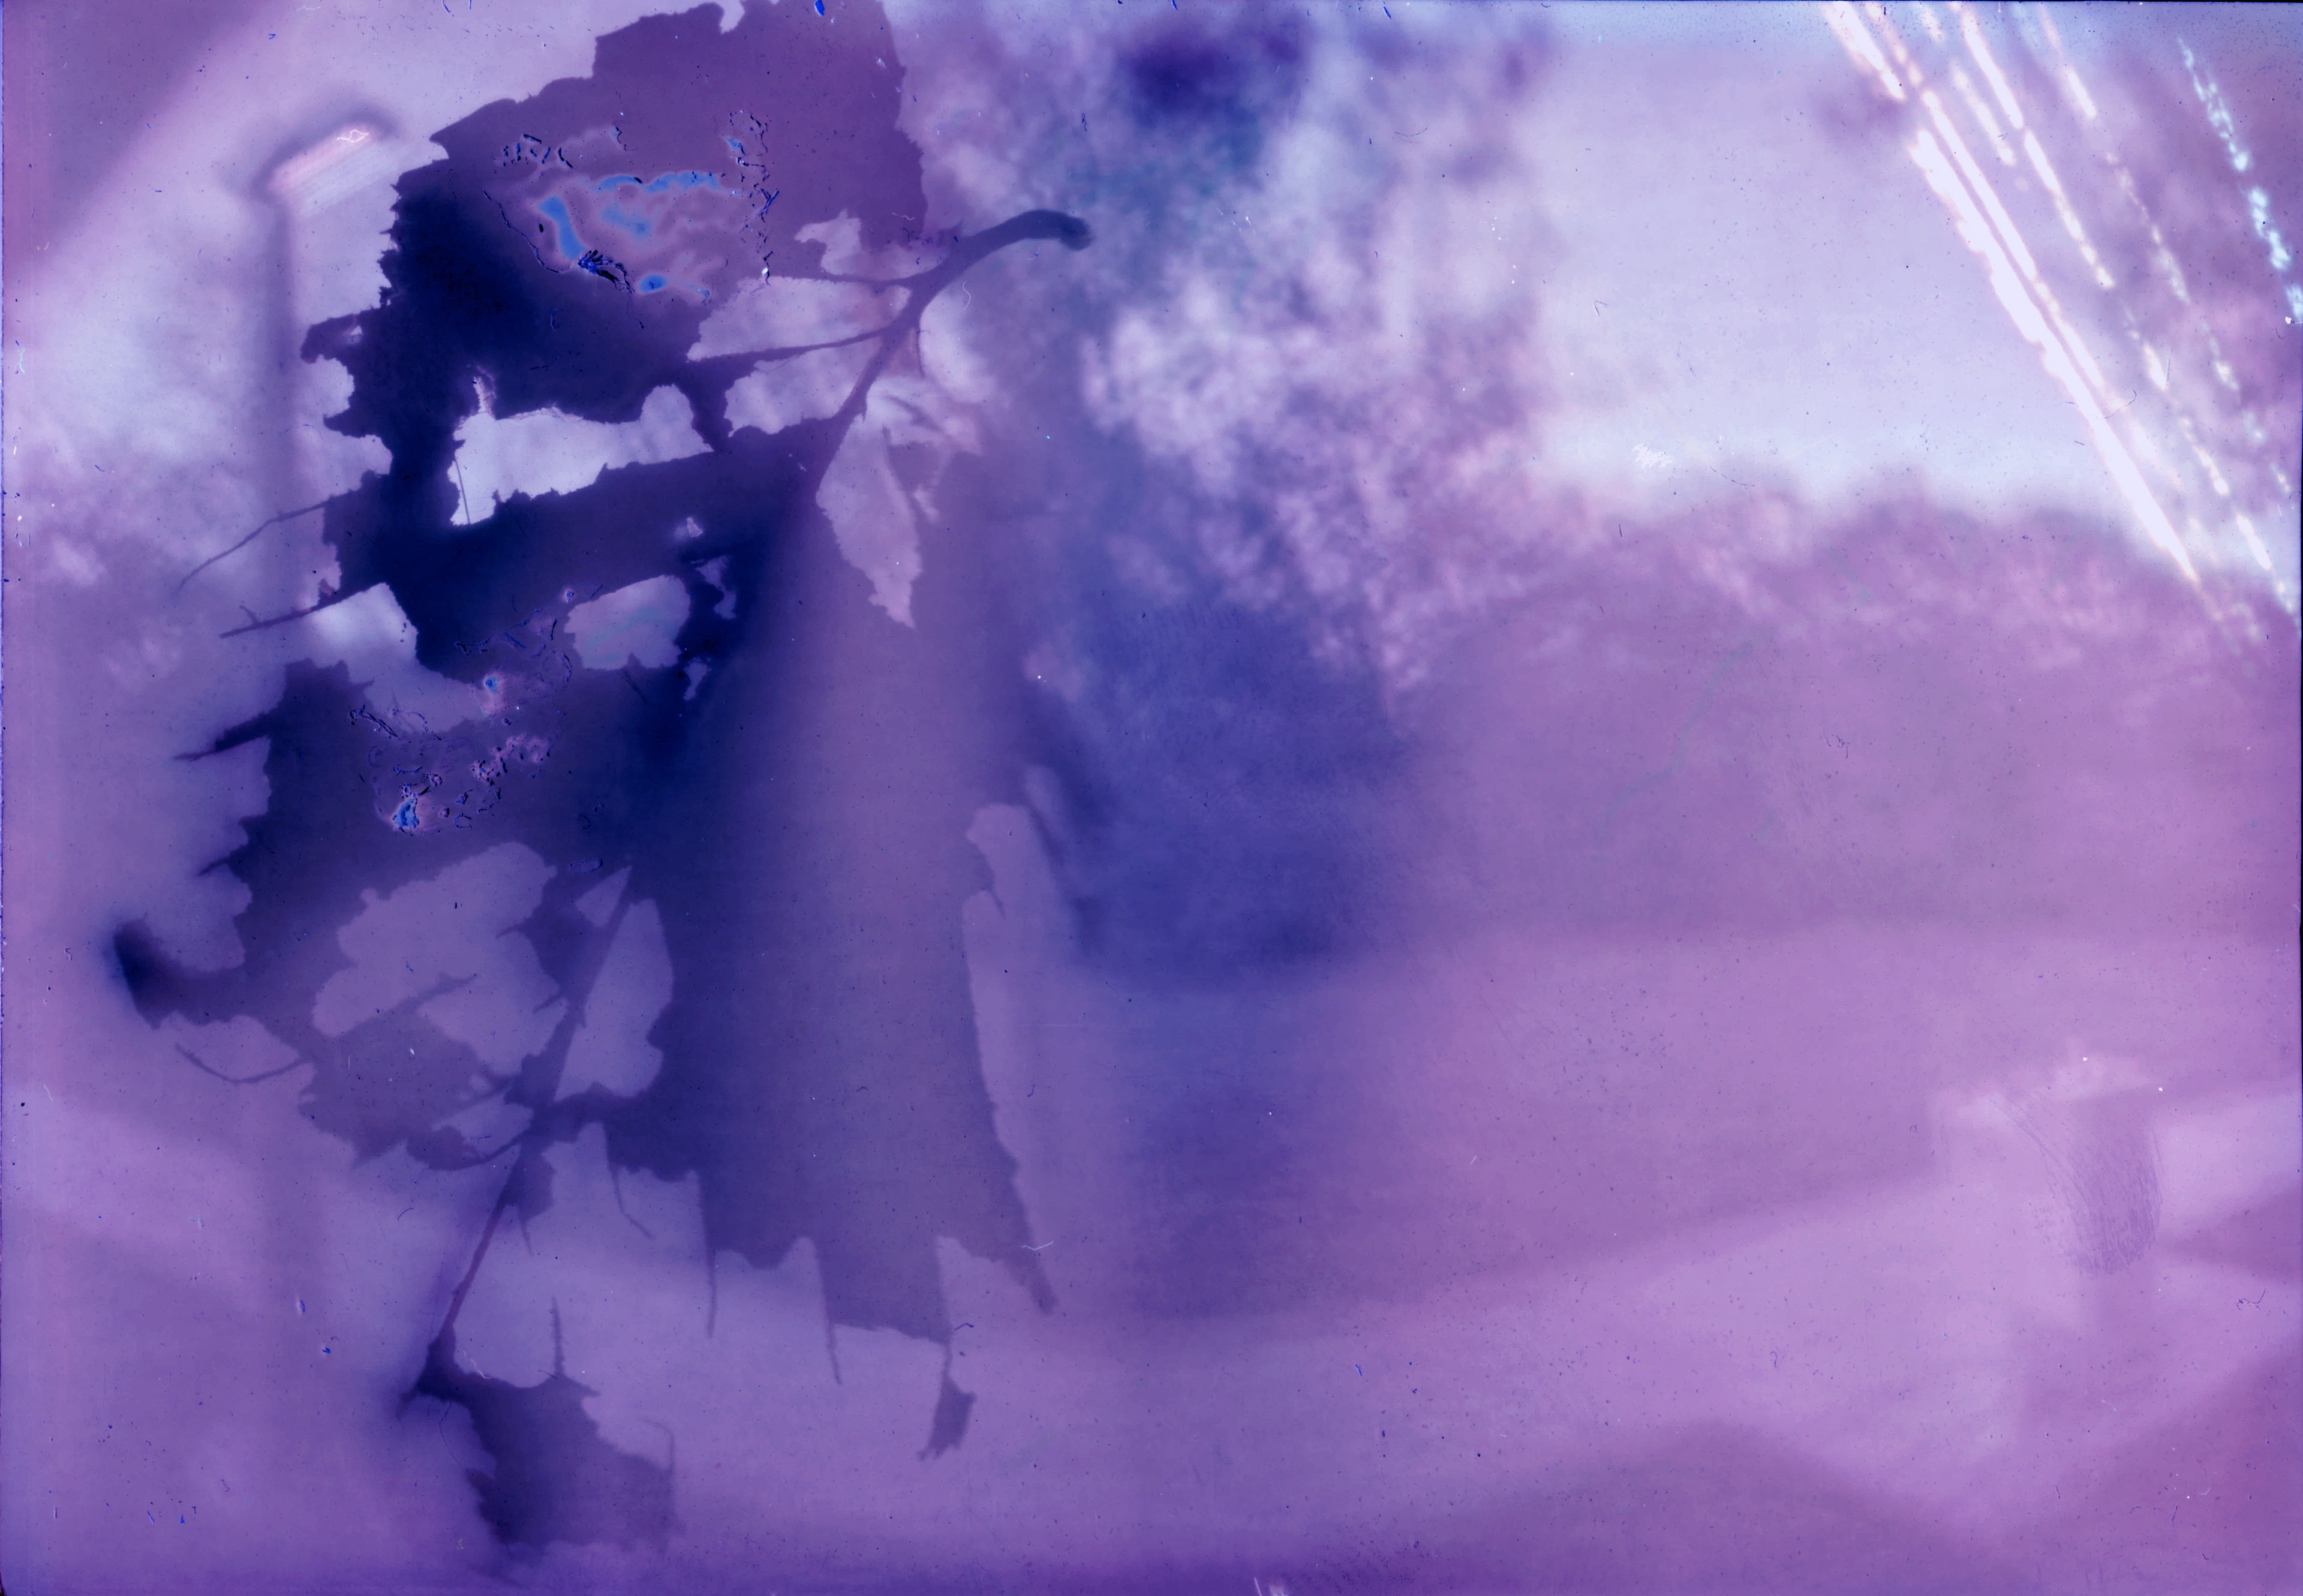
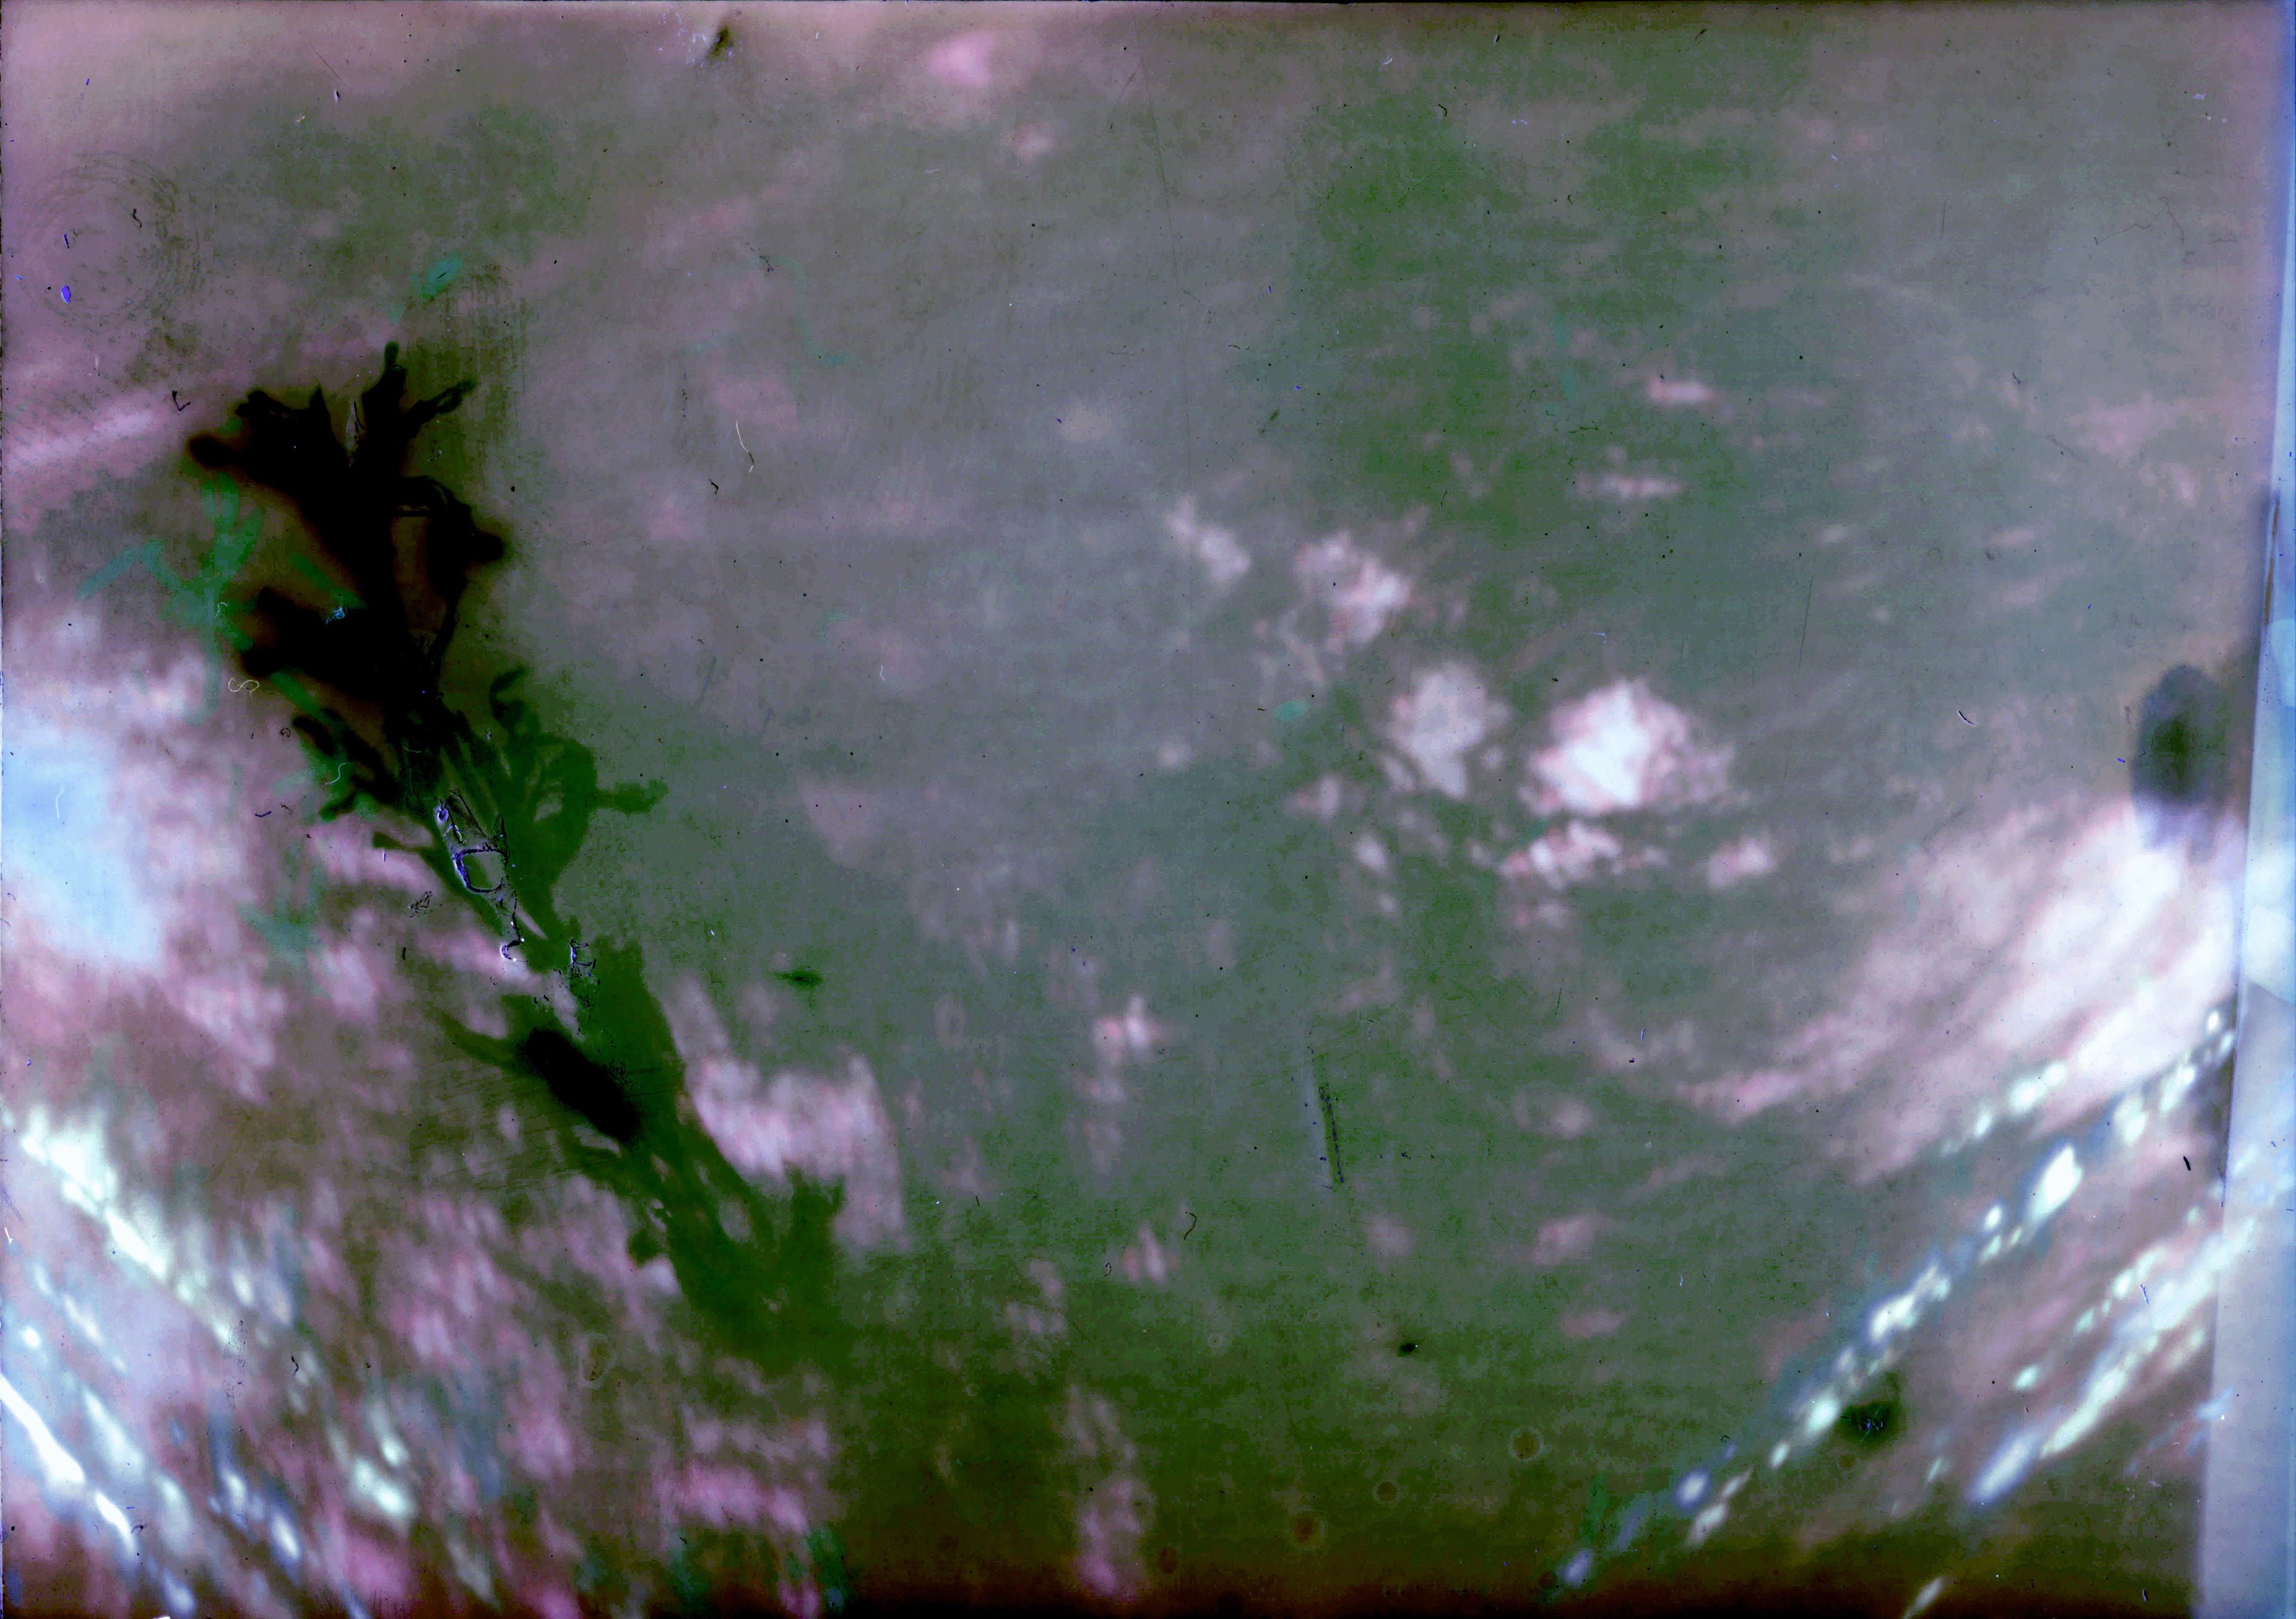
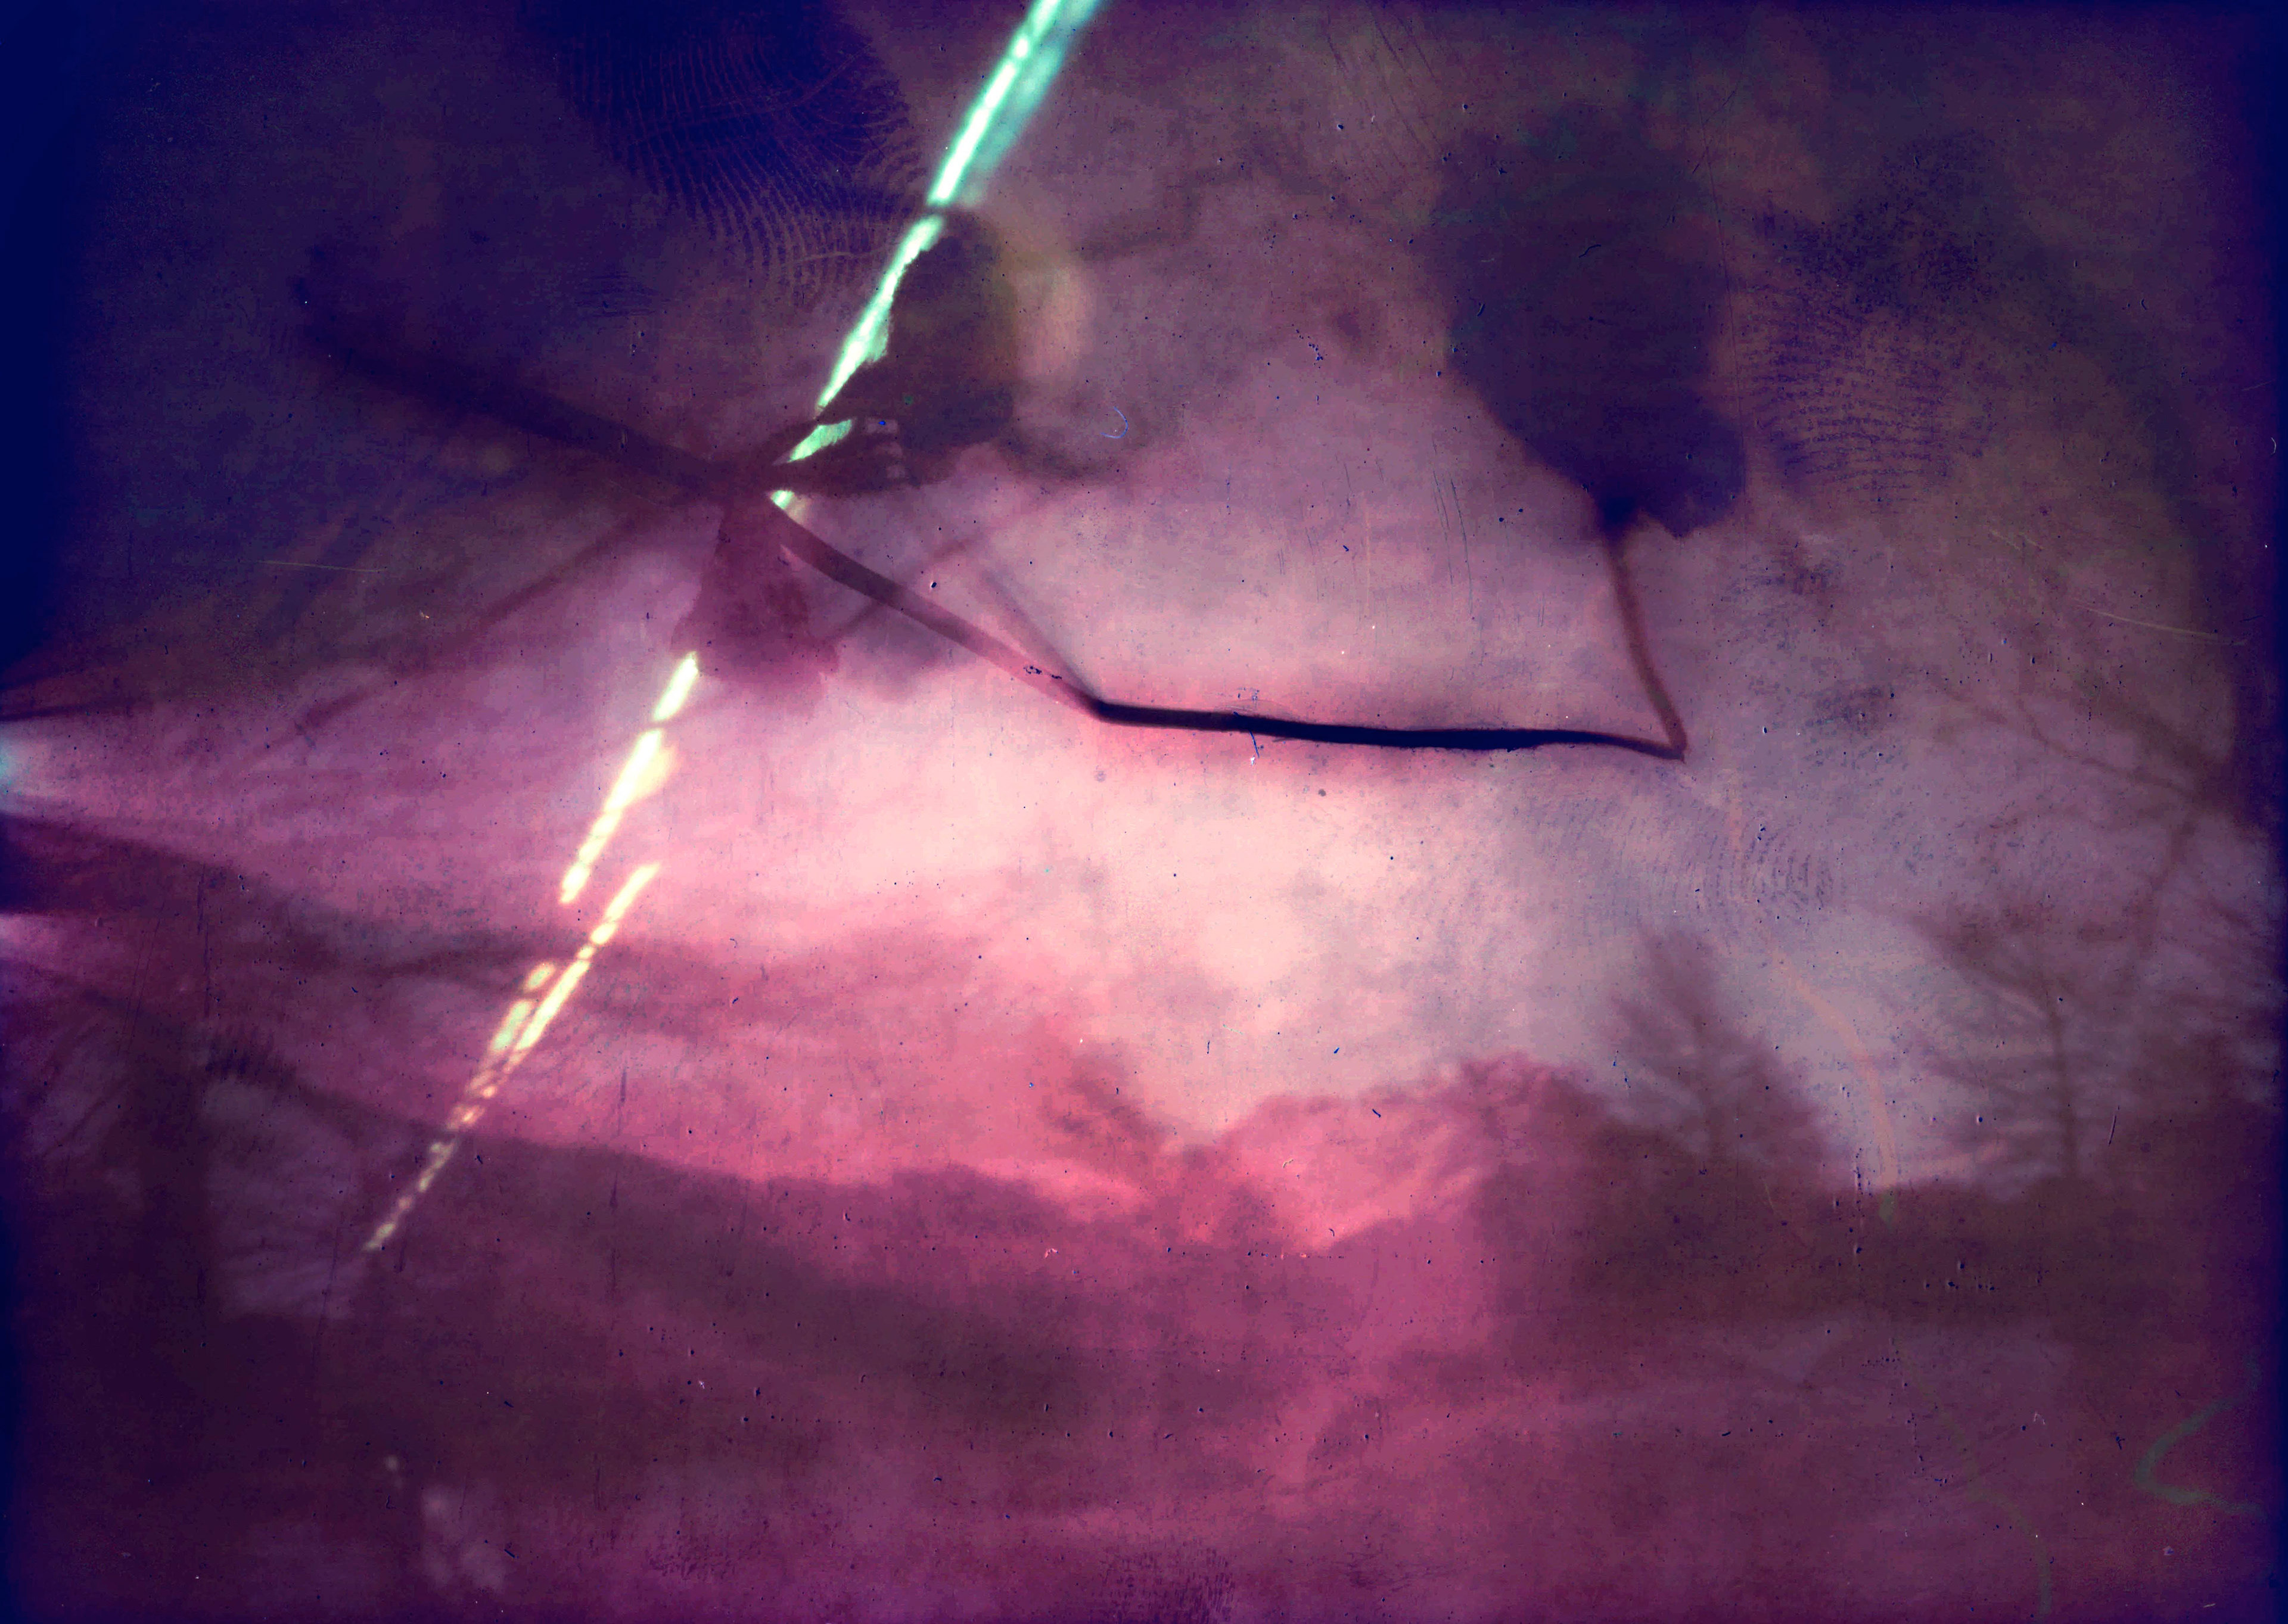
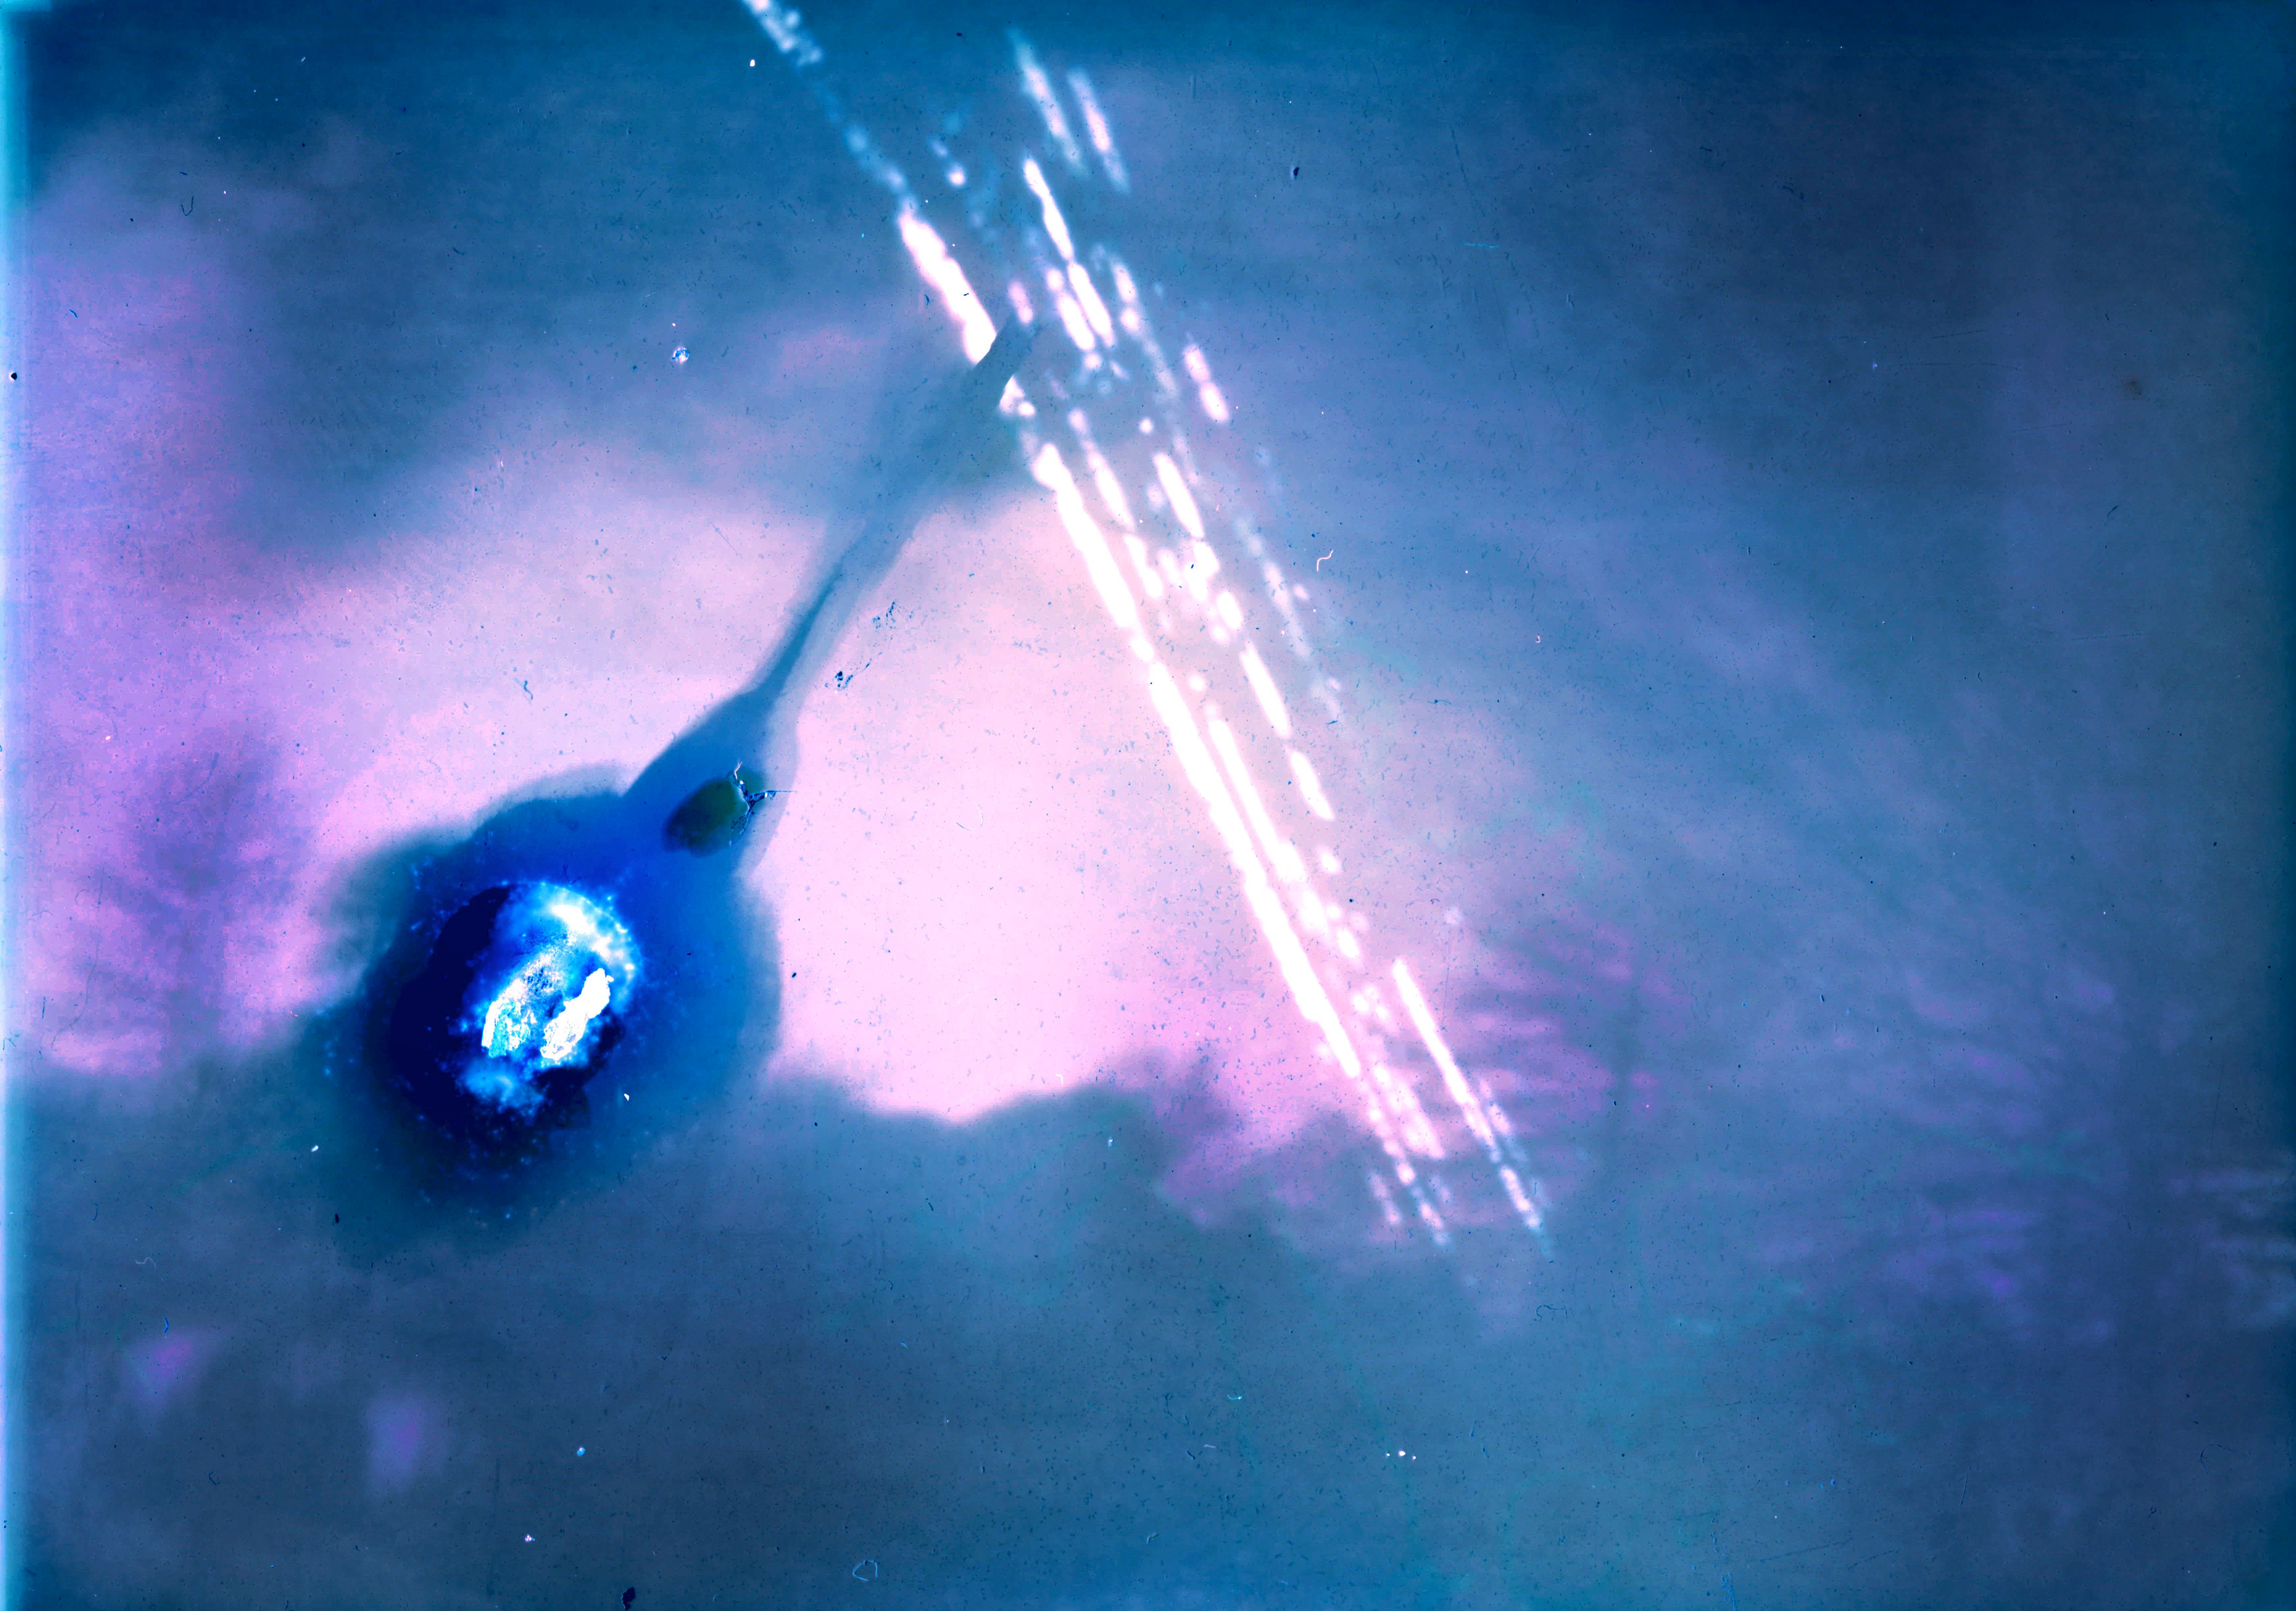
This experimental photography series captures the unseen aspects of the world using pinhole, kirlian, and infrared photography. The pinhole photographs, taken with makeshift cameras left in local parks for a month, reveal the passage of time through the movement of the sun and the decay of plants and insects. Kirlian photography captures the subject's energy through corona discharge, resulting in a glowing halo around it. Infrared photography shows wavelengths of light usually invisible to the naked eye. These images highlight the intricate and often unnoticed details of the world, expanding our perception and inviting us to see it in a new light.
I'd like to give a special thanks to my mentors Krista Steinke and Karen Hillier for lending their creative eye and providing guidance on this project throughout the semester.
This project was judged by industry alumni and professionals, and awarded "Best in Photography" in Vizagogo, the visualization department's student showcase.
potential use case
These images could be used as album art for bands/artists whose music is more experimental.
motivation / inspiration
I wanted to pursue a project that would challenge me to step out of my comfort zone and explore new artistic territory. While I've always been interested in photography, I lost my spark for it throughout college. This project allowed me to rediscover my love for photography, while expanding my portfolio with a diverse range of experimental works. I was drawn to this project's ambiguity, which required me to relinquish control over the final product and embrace a more open-ended approach to my work. This challenge proved to be a learning experience, allowing me to grow as an artist and develop a deeper understanding of the creative process.
I got a lot of my initial inspiration from my mentor, Krista. Many of her works involve the same pinhole process I was interested in, which is why I reached out to her for mentorship throughout the project. I was very drawn to the way she photographed time and the overall aesthetic of the images. One piece of hers that I was very inspired by is "On the breath of a forest."
Krista Steinke - "On the breath of a forest"
Upon doing some research on the Kirlian process, I discovered Robert Buelteman's "Electric Flowers" and David Haines' "Wollemi Kirlians," which are what heavily inspired me to use plants and leaves for my Kirlian subjects. I loved the vibrant colors of their images and how no two images looked exactly alike.
Robert Buelteman - "Field Mustard"
David Haines - "Wollemi Kirlians"
My second mentor, Karen, encouraged me to look into infrared film photography as one of my processes. I gravitated towards the look of aerochrome film and was inspired by its dream-like colors. After doing some digging on colored film infrared photography, one artist who stood out to me was Bradley G. Munkowitz (GMUNK) - specifically his series "InfraMunk vs Iceland." While he didn't use aerochrome film, he created some wild color palettes using colored infrared film. I was very inspired by the contrast between the rock and vegetation, and how he redefined the meaning of a landscape photograph with these images.
GMUNK - "Inframunk vs Iceland"
Kirlian Photography
history
Kirlian Photography was discovered in 1939 by Seymon Kirlian, a Russian electrician, and his wife, Valentina Kirlian. The couple applied high voltage to an object on a photographic plate, and found that it created a halo-like ring around the object, capturing the object and the energy that it radiated. When their work was received by western culture in the 1970's, there were many rumors that it could be used as a form of holistic medicine. Said rumors have since been debunked by the medical field, but the pseudoscience still remain a part of its rich history.
technique
I chose to take my Kirlian images digitally. To produce my digital Kirlian photographs, I sourced my equipment from Images Scientific Instruments. This included a Kirlian device that would act as my high-voltage source, a transparent discharge plate (TDP) coated on one side with a conductive tin-oxide coating, and a ground plate made from a non-conductive plastic with a brass screw in the middle to conduct the object to the voltage. The subject is placed in between the ground plate and TDP, with the conductive coated side of the TDP placed on top of it. By connecting the TDP and the ground plate to the high-voltage device, this allows the electricity to flow through the subject, creating the glowing effect.
photo showing my Kirlian Photography setup
As far as camera settings, the photographs have to be taken in complete darkness, so a wide aperture is necessary. I had my camera on aperture priority mode, which automatically detects the best shutter speed for the selected aperture. Each exposure was probably around 3-5 seconds.
I got the best results when I turned the leaf over so that the back side was on top, and put a white piece of paper in between the leaf and the ground plate. This seemed to diffuse the light of the halo better than just the black ground plate. The orange glowing section of the final photos is where the brass screw was, which produced the most direct light.
without paper underneath
with paper underneath
When it comes to editing, the only adjustments I made using Photoshop were in a color balance layer to bring out the more purple tones and some minor dodging and burning.
Final Images:
Pinhole Photography
History
The "camera obscura" is photography at its simplest form. Its origins date back to around 5th century BC when Mohist philosopher Mo Ti discovered it. Since then, it has been written about my many great minds like Aristotle and Leonardo di Vinci. However, it didn't become pinhole photography until the image was able to be fixed. One unique thing about pinhole cameras is that they have an infinite depth of field. They capture the image just as the eye sees it.
Technique
The concept of pinhole photography is simple. A hole is poked into one side of a light-tight box, and the image is projected onto the other side. In order to replicate this process, the materials I used were soda cans, high-quality matte black spray paint (I used Colorshot Blackout Matte), cinefoil, gaffers tape, a small needle, and light sensitive photo paper.
To start, I cut the tops off of all of my cans. Then I put 2 coats of matte black spray paint on the inside and the outside of the cans. The inside is more important than the outside because you don't want any shiny spots for the light to reflect off of. I only spray painted the outside so that the cans wouldn't be as noticeable.
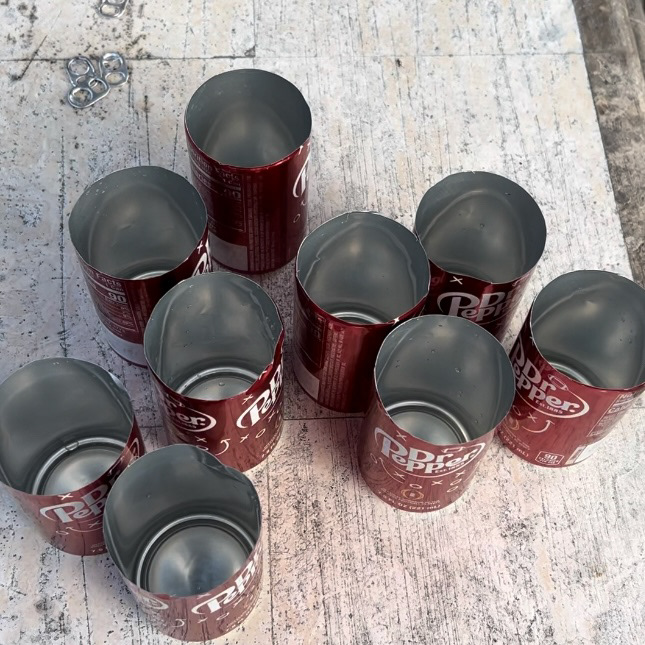
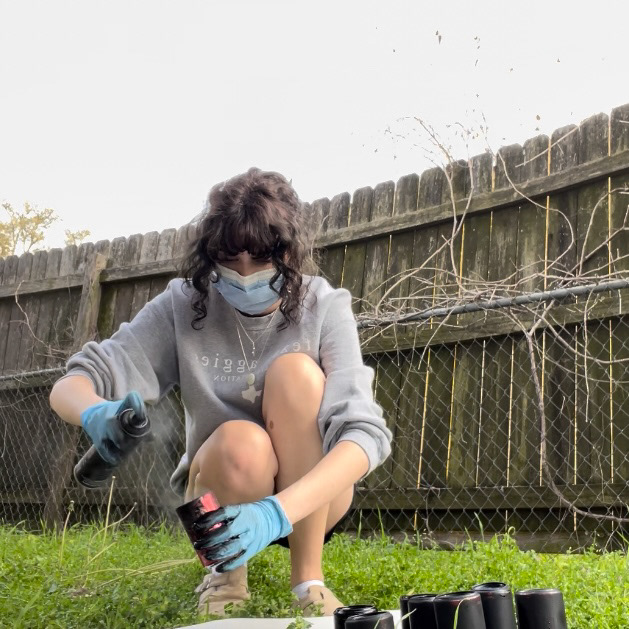
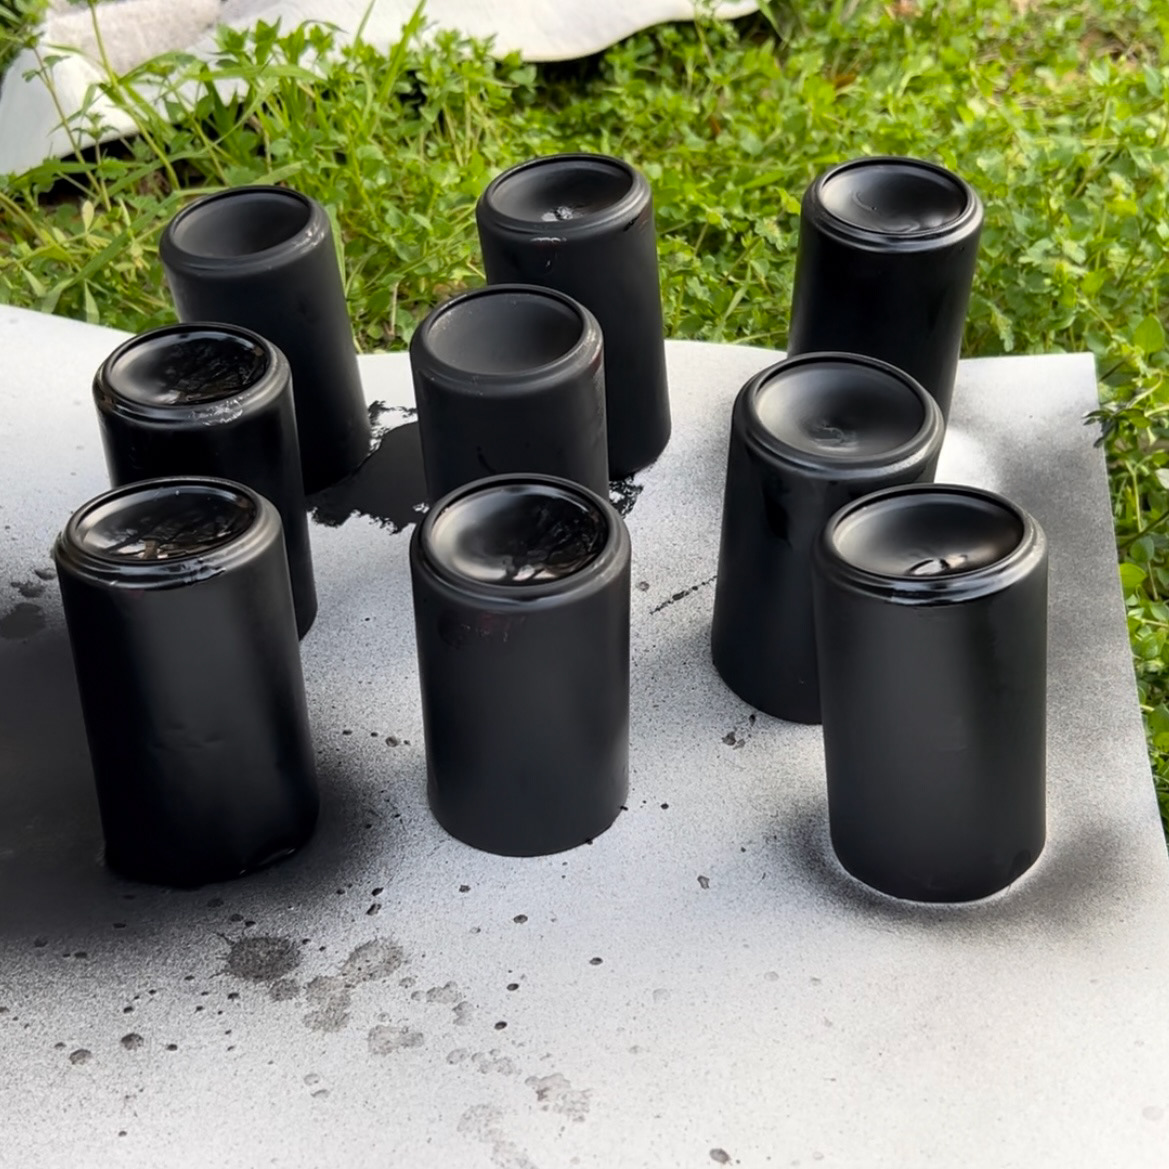
Then after letting those dry for a full day, I cut a small rectangle out of the side of the can and put a piece of cinefoil over it. I also reinforced that cinefoil with gaffer's tape around the edges on the inside and outside so it was sure to stay in place. After that I poked the cinefoil with the small needle, making sure to twist it in so that it has a clean surface.
Moving to the light sensitive photo paper, I cut the paper into 2 x 3.5 rectangles and rubber cemented a plant or insect to it. Finally I put that into the can on the opposite side of the hole and sealed everything shut with gaffer's tape.
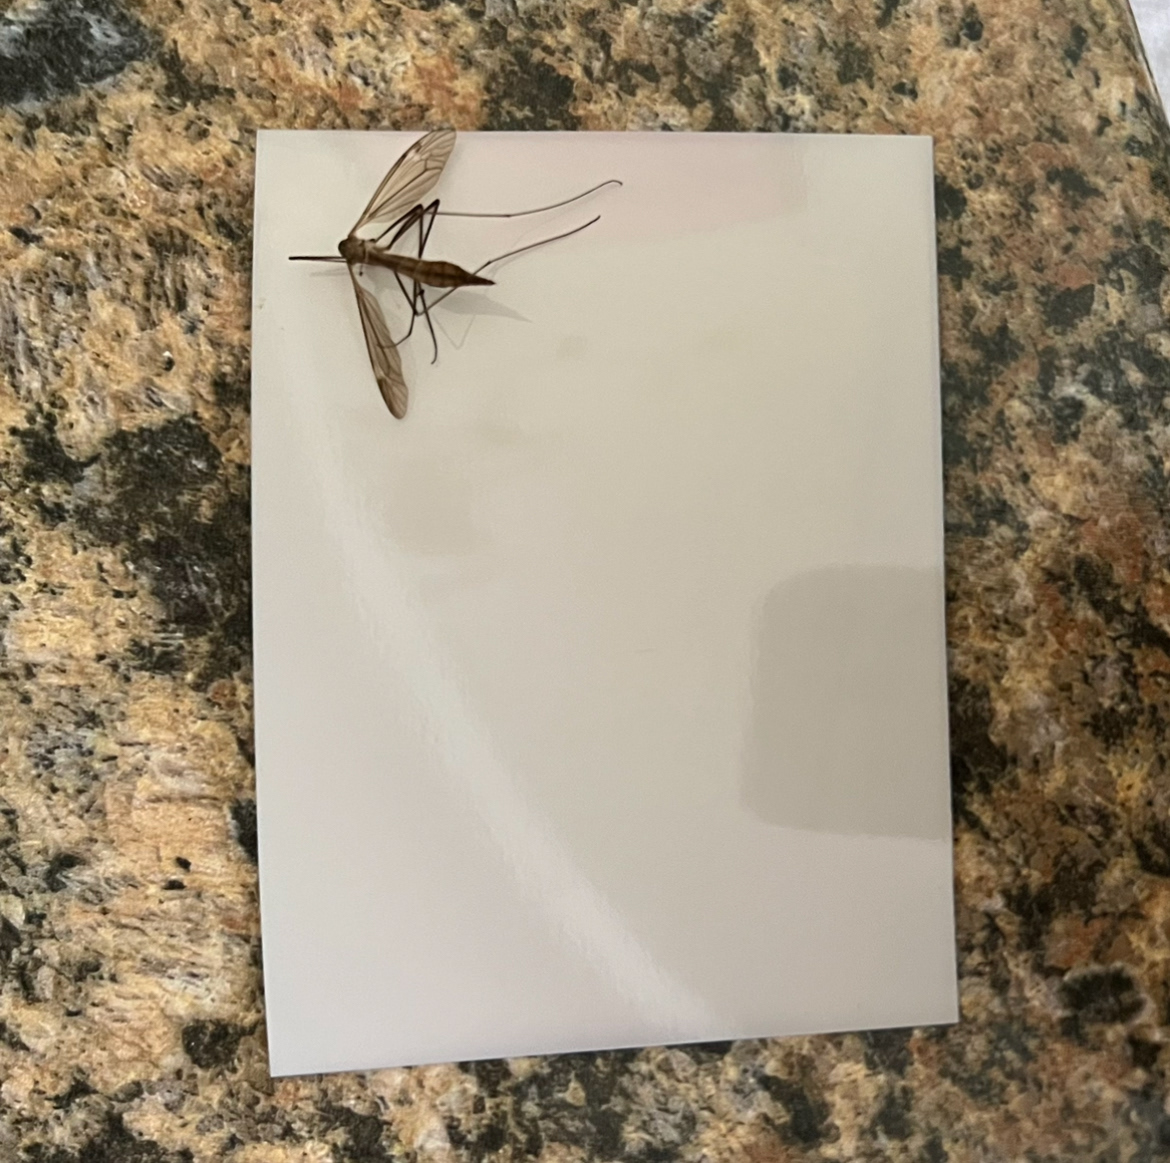
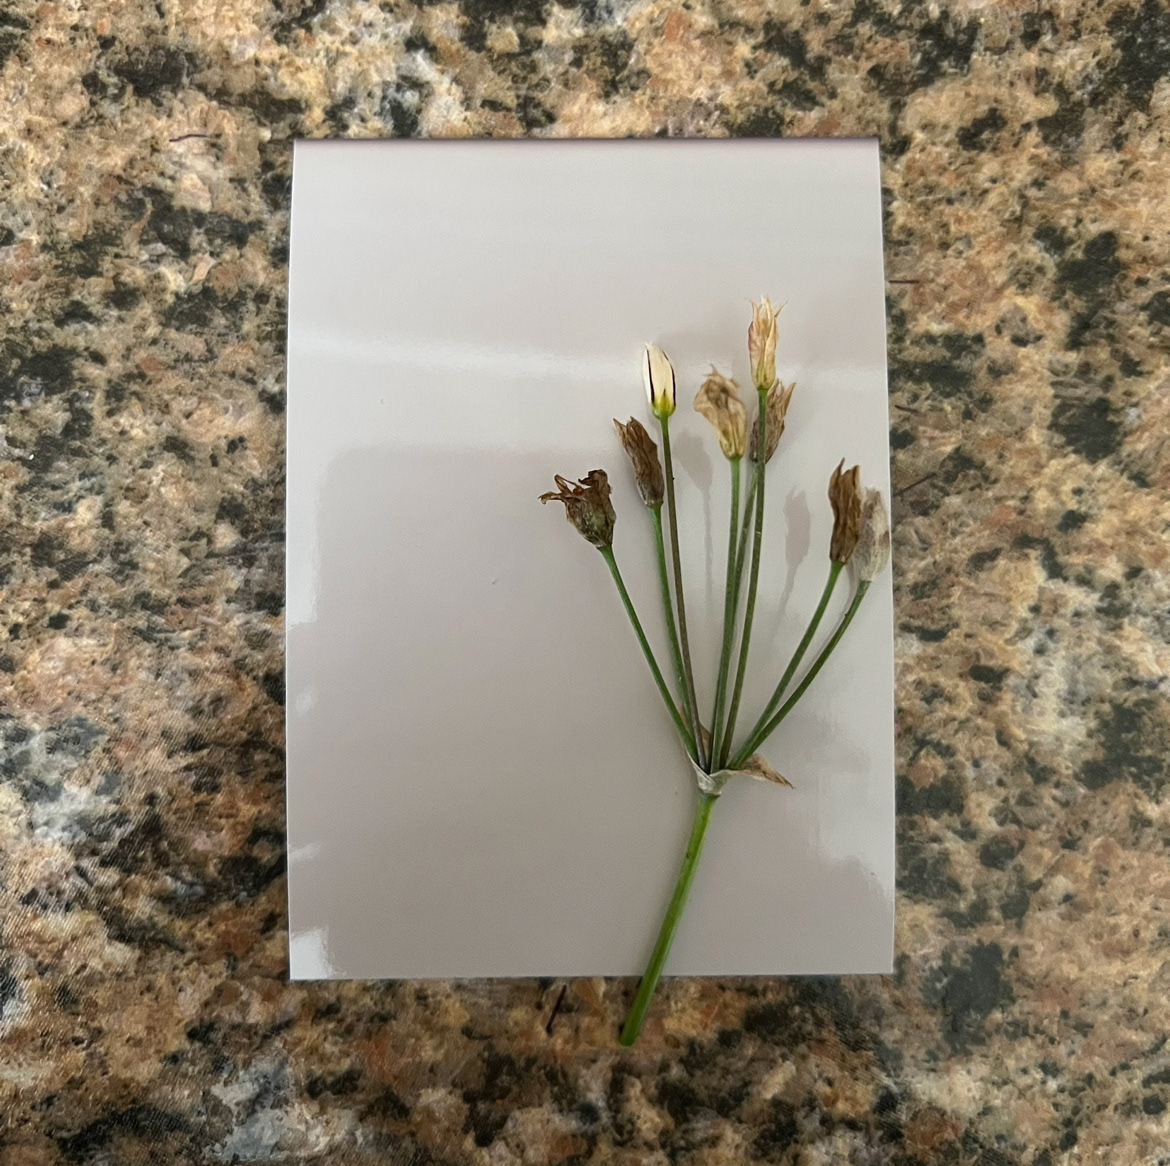
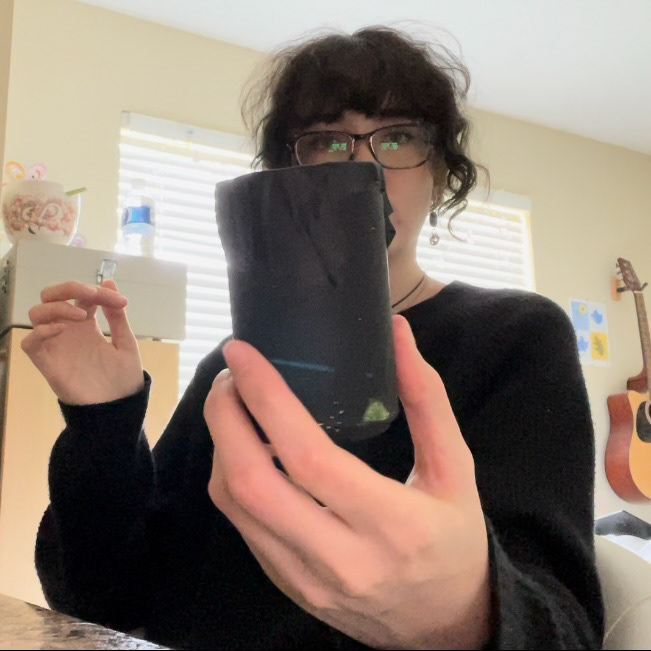
I attached the cameras with gorilla tape (make sure not to cover the hole) to trees and poles in local parks and left them in the hands of the elements for roughly a month. From the 24 cameras I put out, I got 12 useable photos back.
editing the photos
When the film first comes out of the camera, it is important to know that it will be inverted like a negative. The first post-production step to take is to scan the film. It is crucial that you only have to scan the film once, because the light going over the film will act as another exposure, so you will not be able to scan it again and get the same results. You can see the difference between before and after scanning in the images below, as well as the scan settings I used.
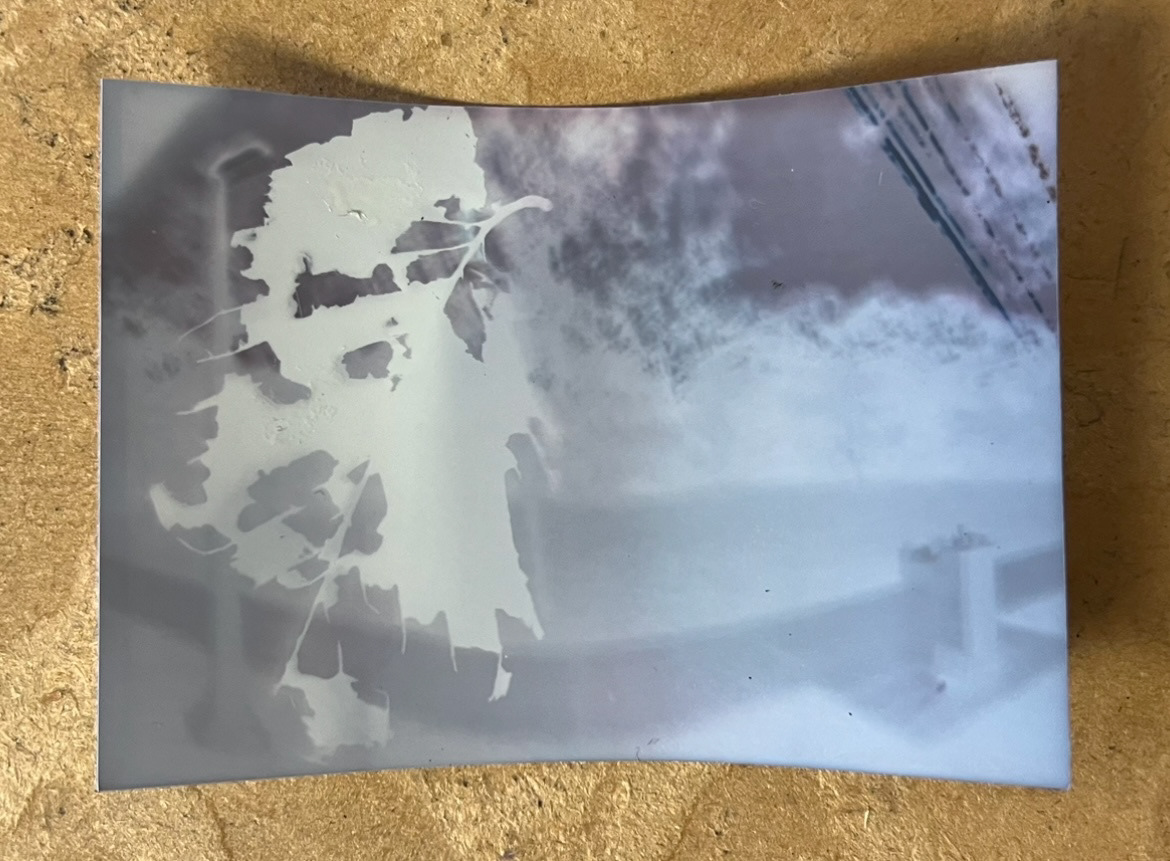
before scanning
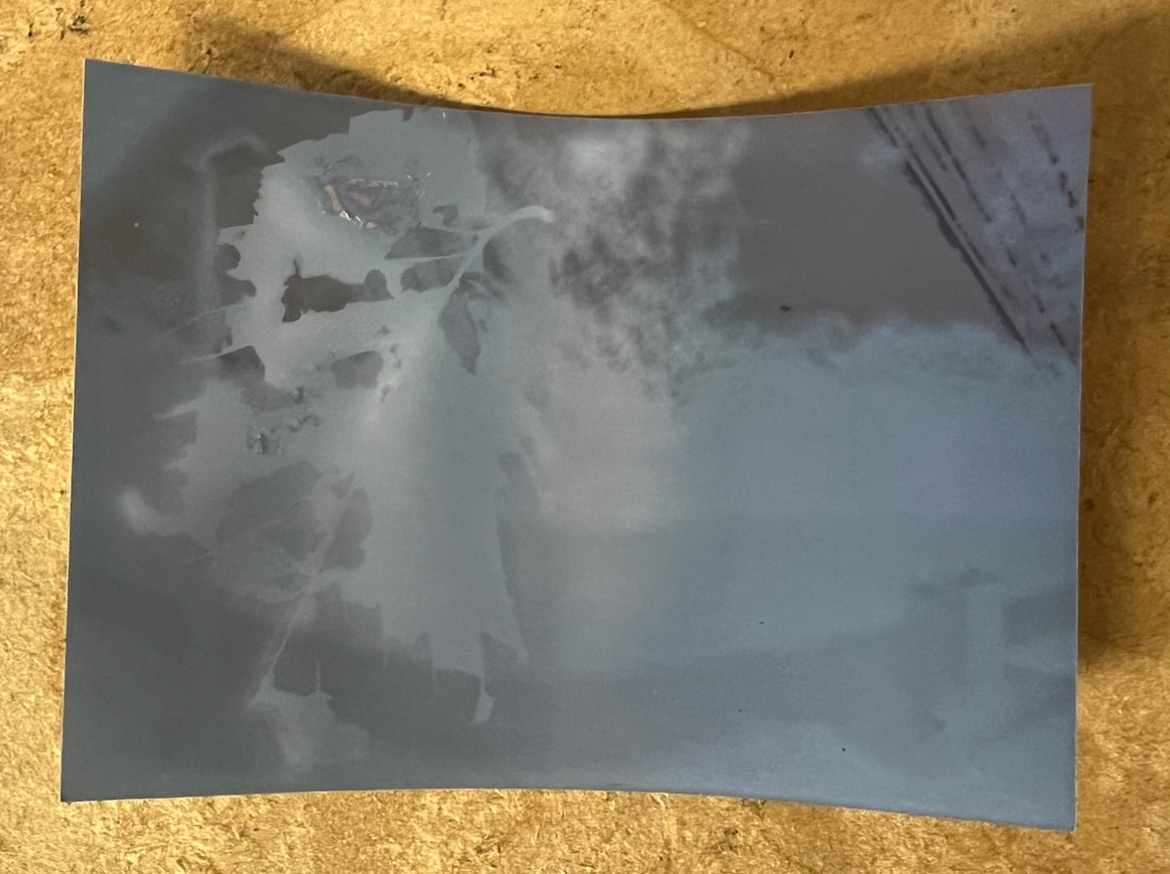
after scanning
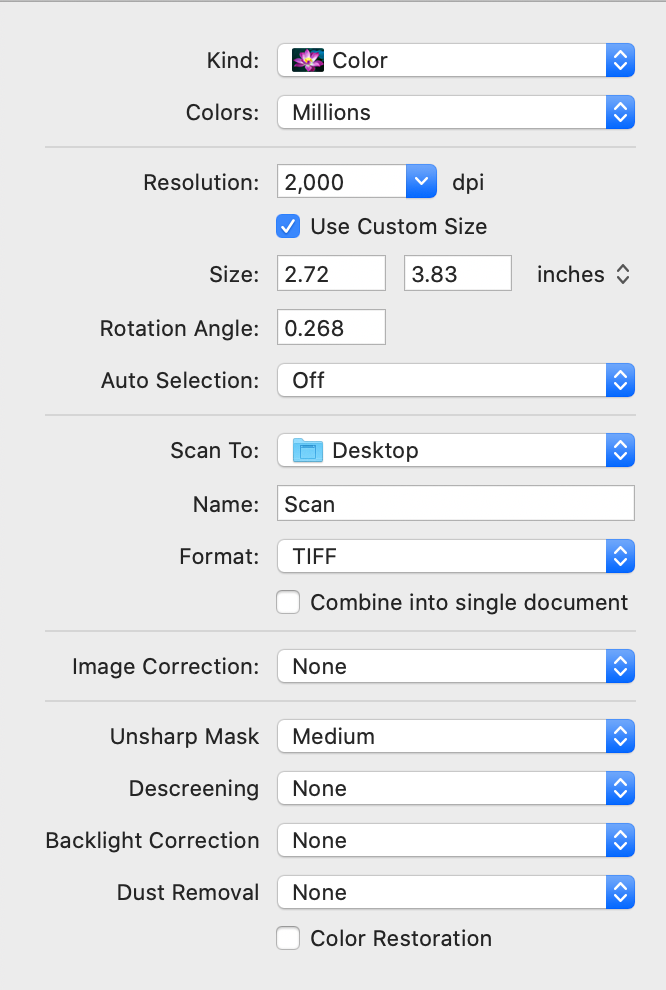
scanner settings
The next step is inverting the photo. Since this paper developed with blue/purple tones, the photo after inversion will be yellow.
original photo
inverted photo
Once I inverted the photo, I went into curves and brought the sliders in so that they started where the curve started.
after adjusting the curves
photo post-curve adjustment
The next step I did was adjust the colors. First I just used Auto-Color from the image drop-down. This usually does a good job at initially evening everything out. Then I went into Color Balance and made adjustments based on the colors I wanted (blue/purple). It is important to do this with shadows, mid-tones, and highlights. I also did some minor dodging and burning on the clear shadows and highlights to give the photo more contrast.
after applying auto-color
after applying color-balance / dodge and burn
Finally, I cleaned up the photo with the spot healing brush tool to get rid of any distracting marks in the photo. I like to keep some of these to maintain the film feel, but some of the bigger distractions like white spots and fibers on the film are what I get rid of.
before clean up
after clean up
Below are all of the pinhole photographs I had:
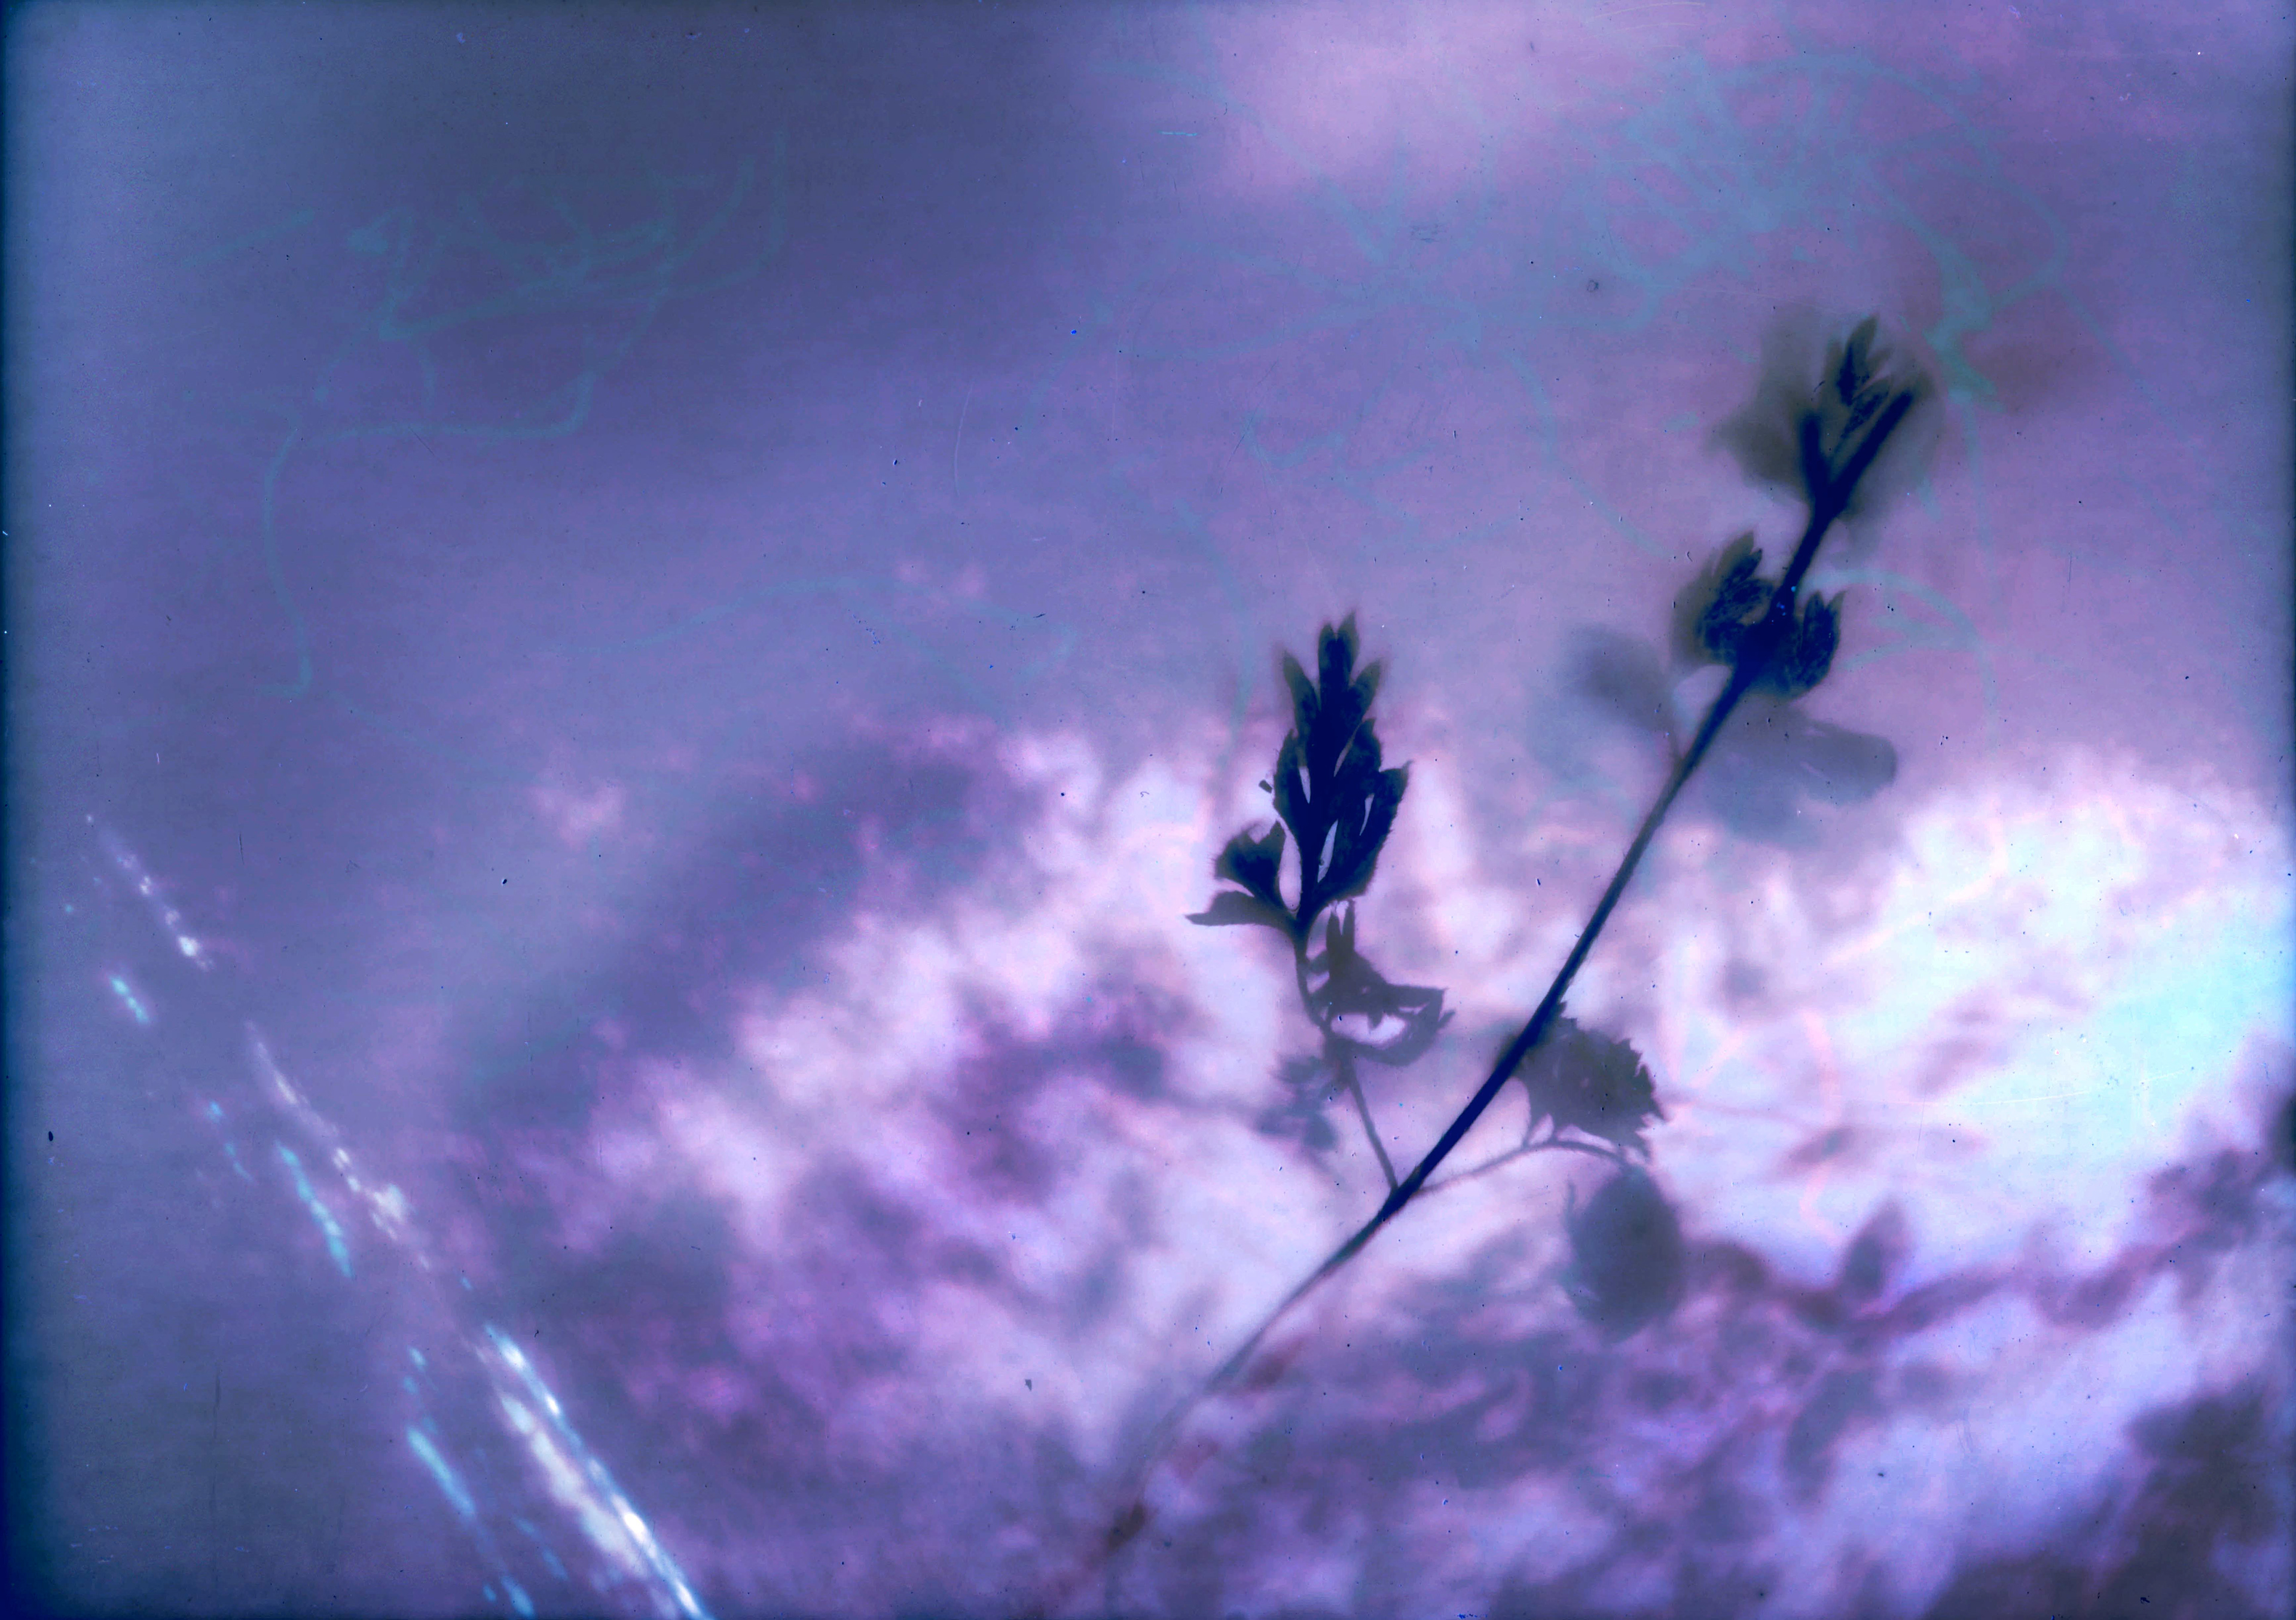
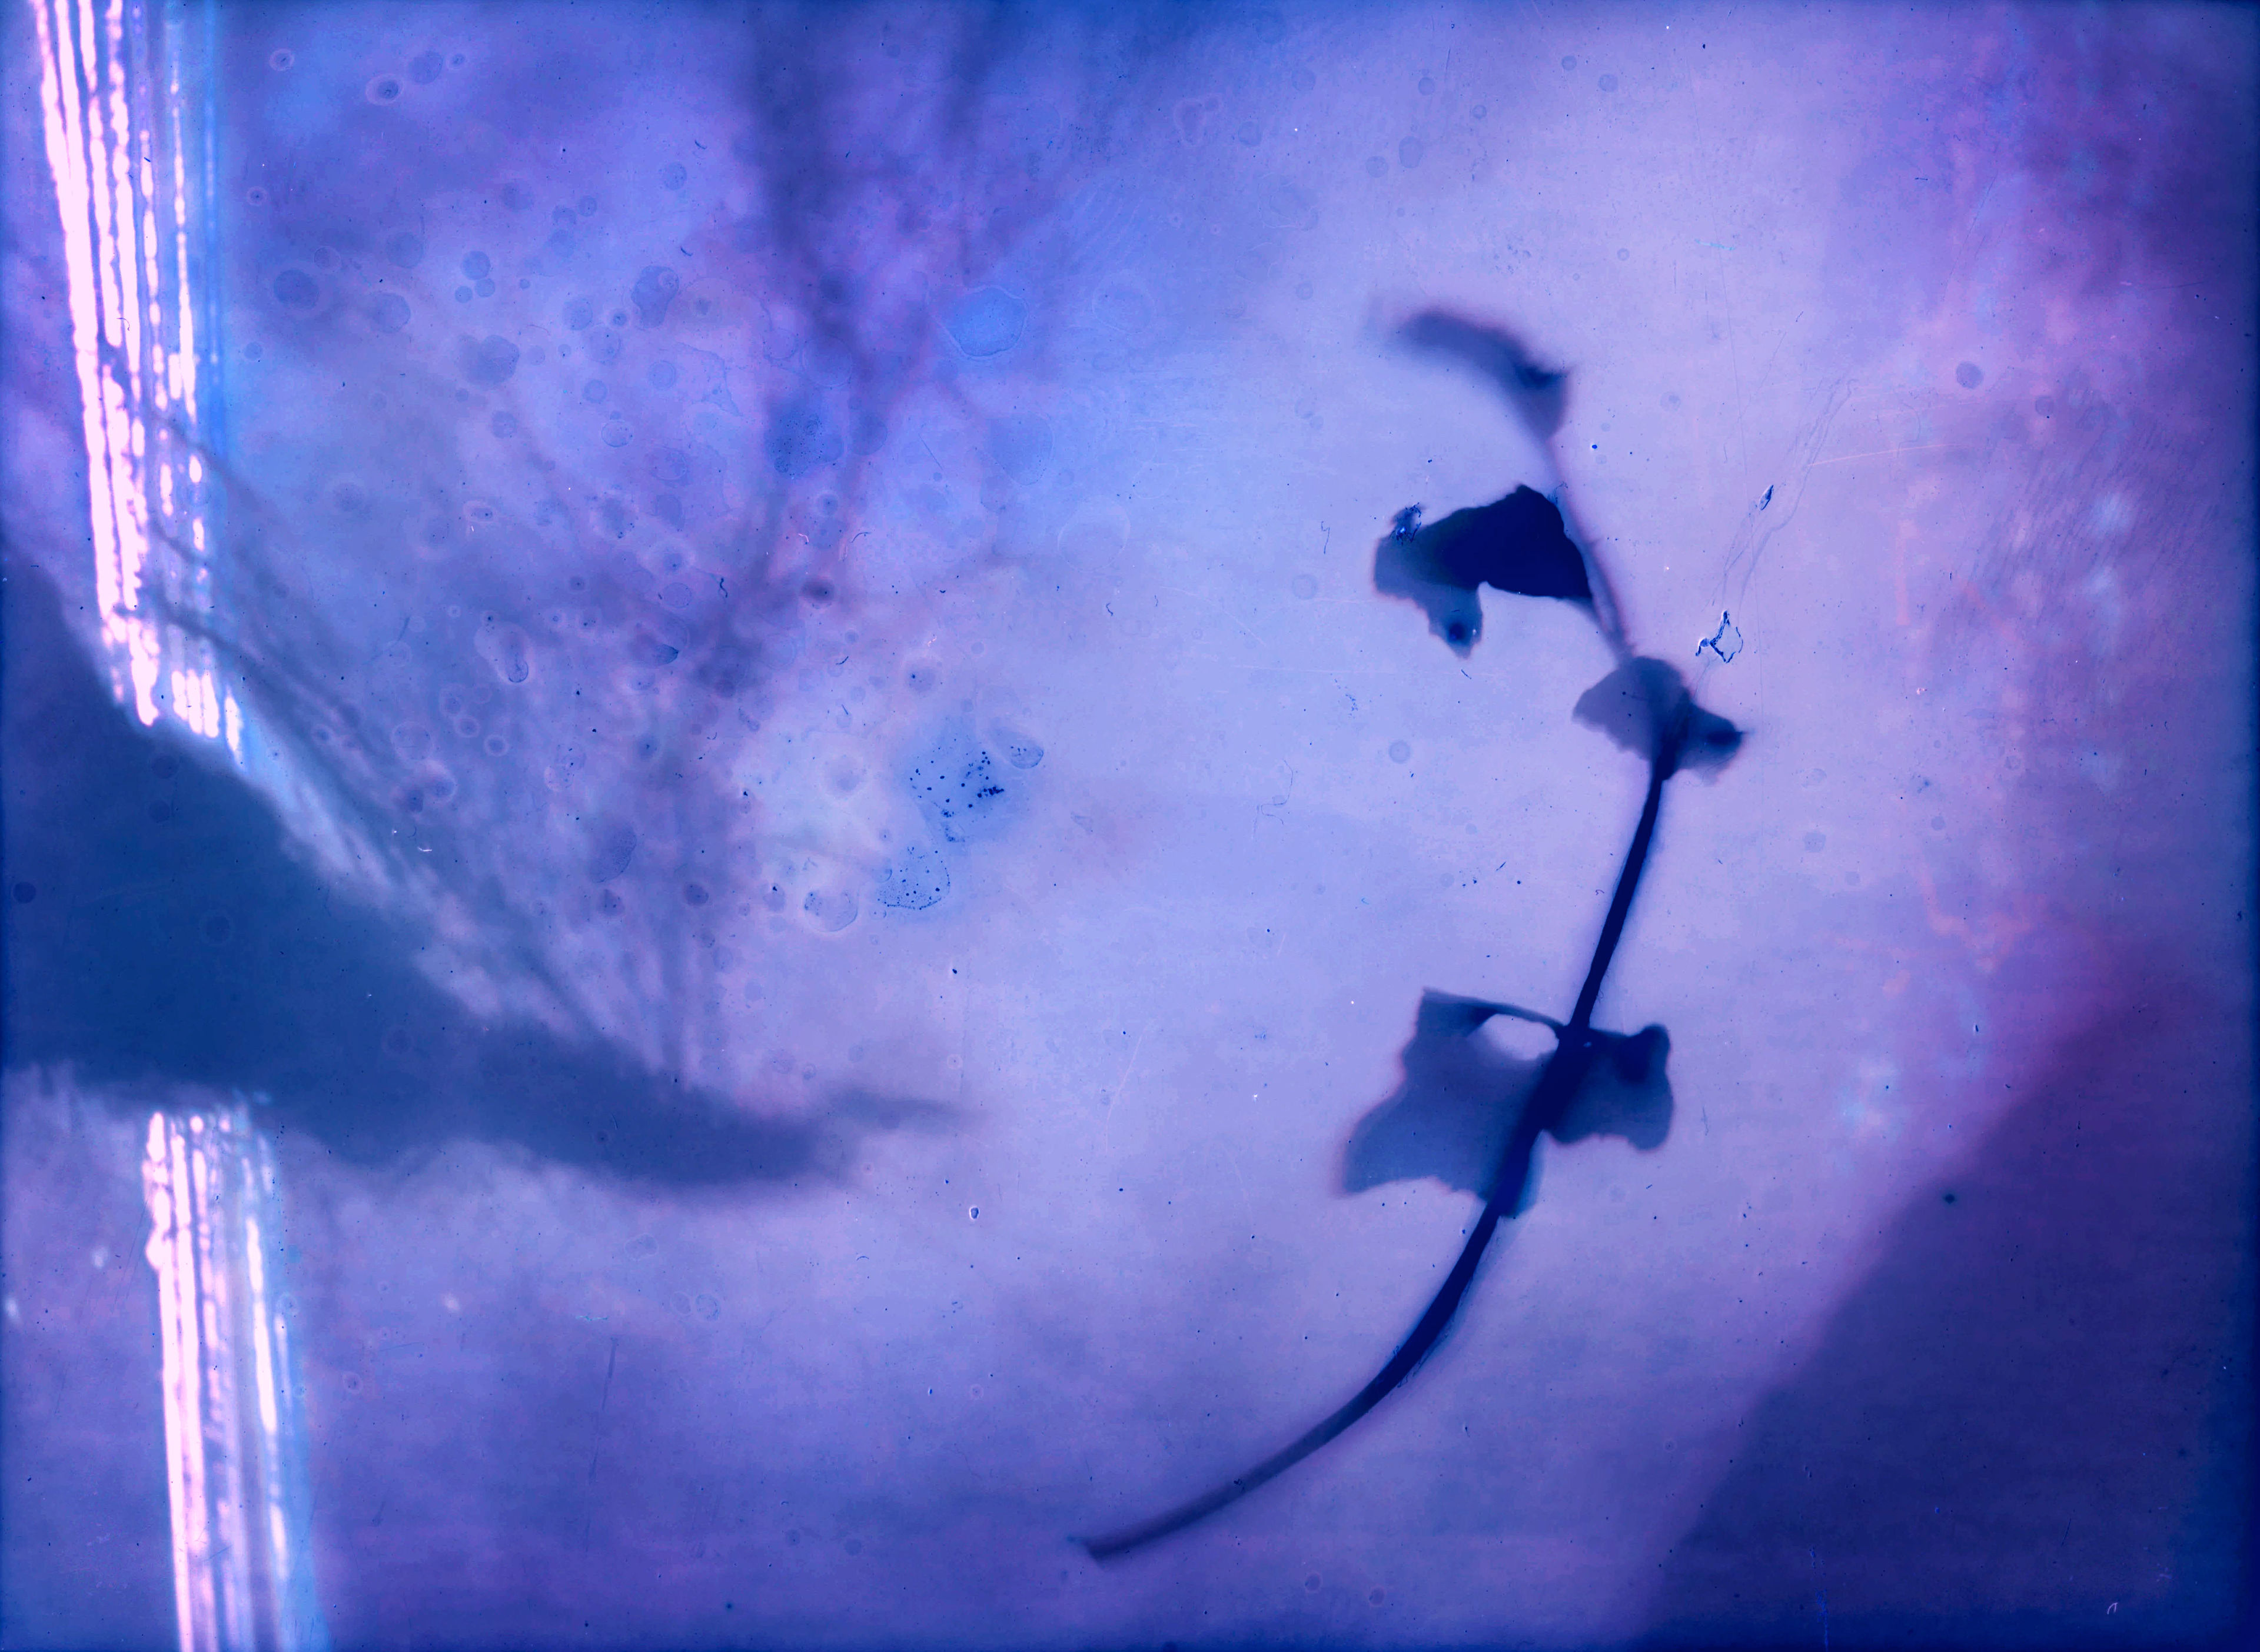
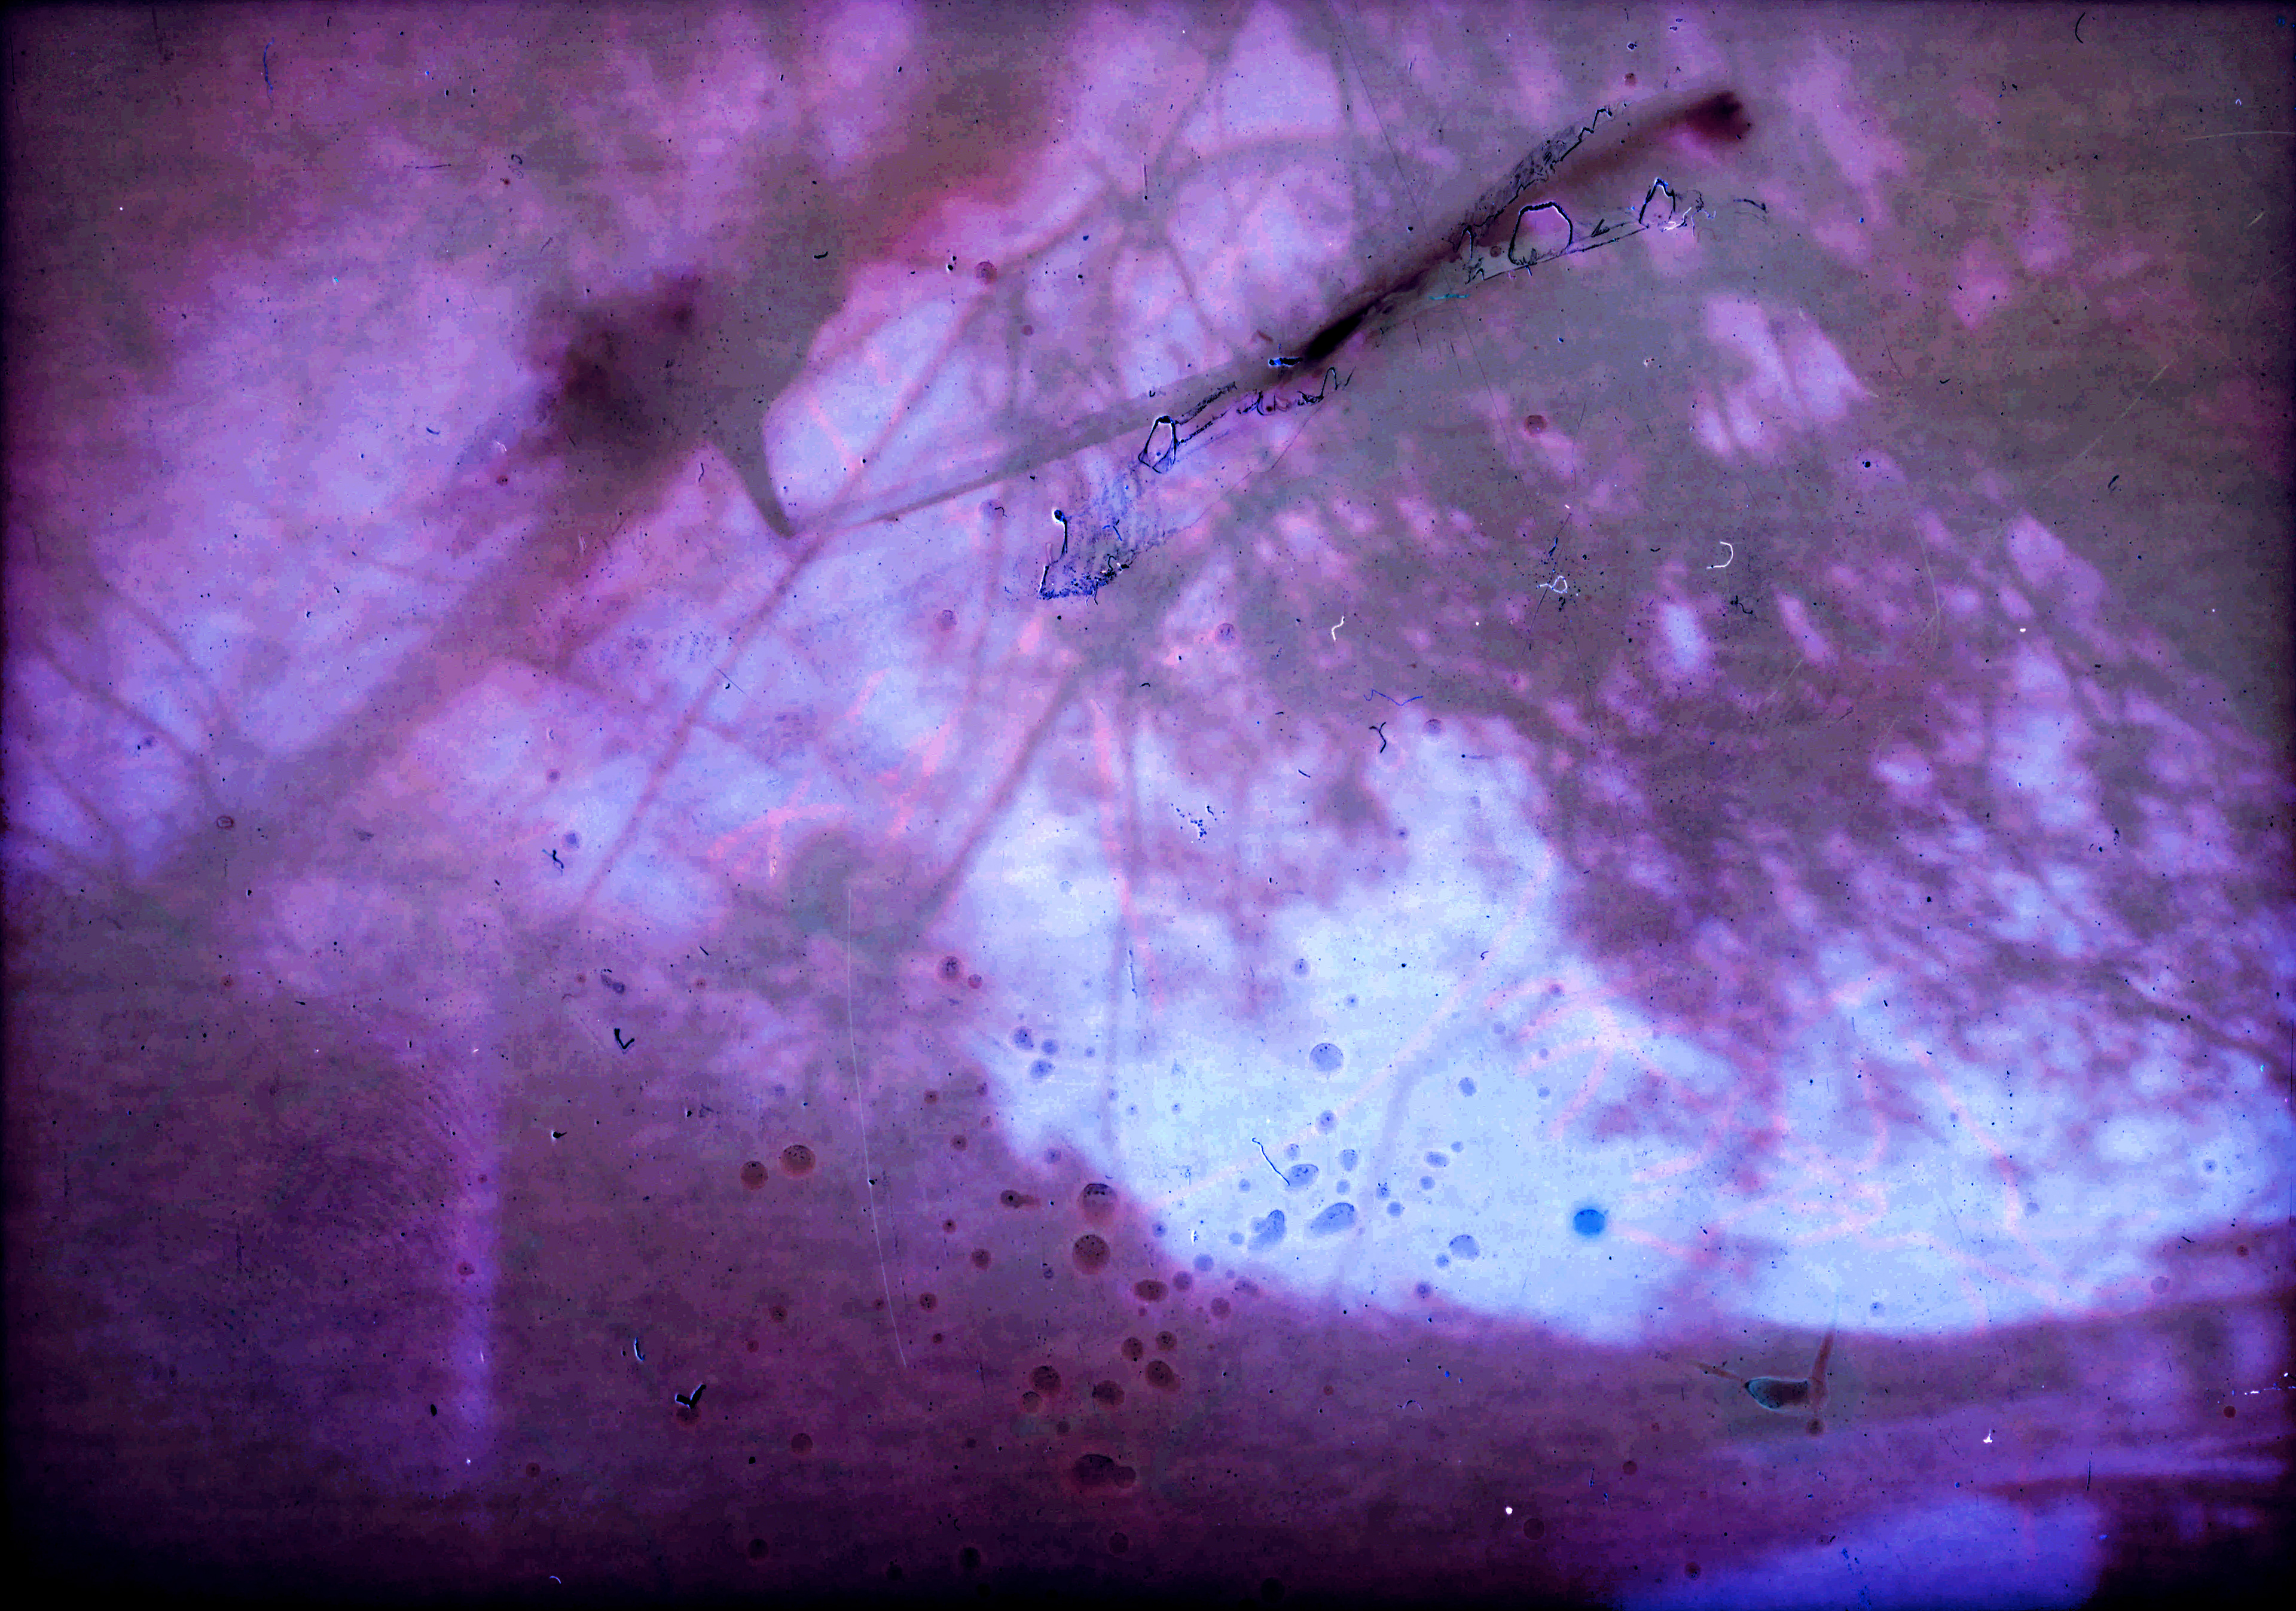
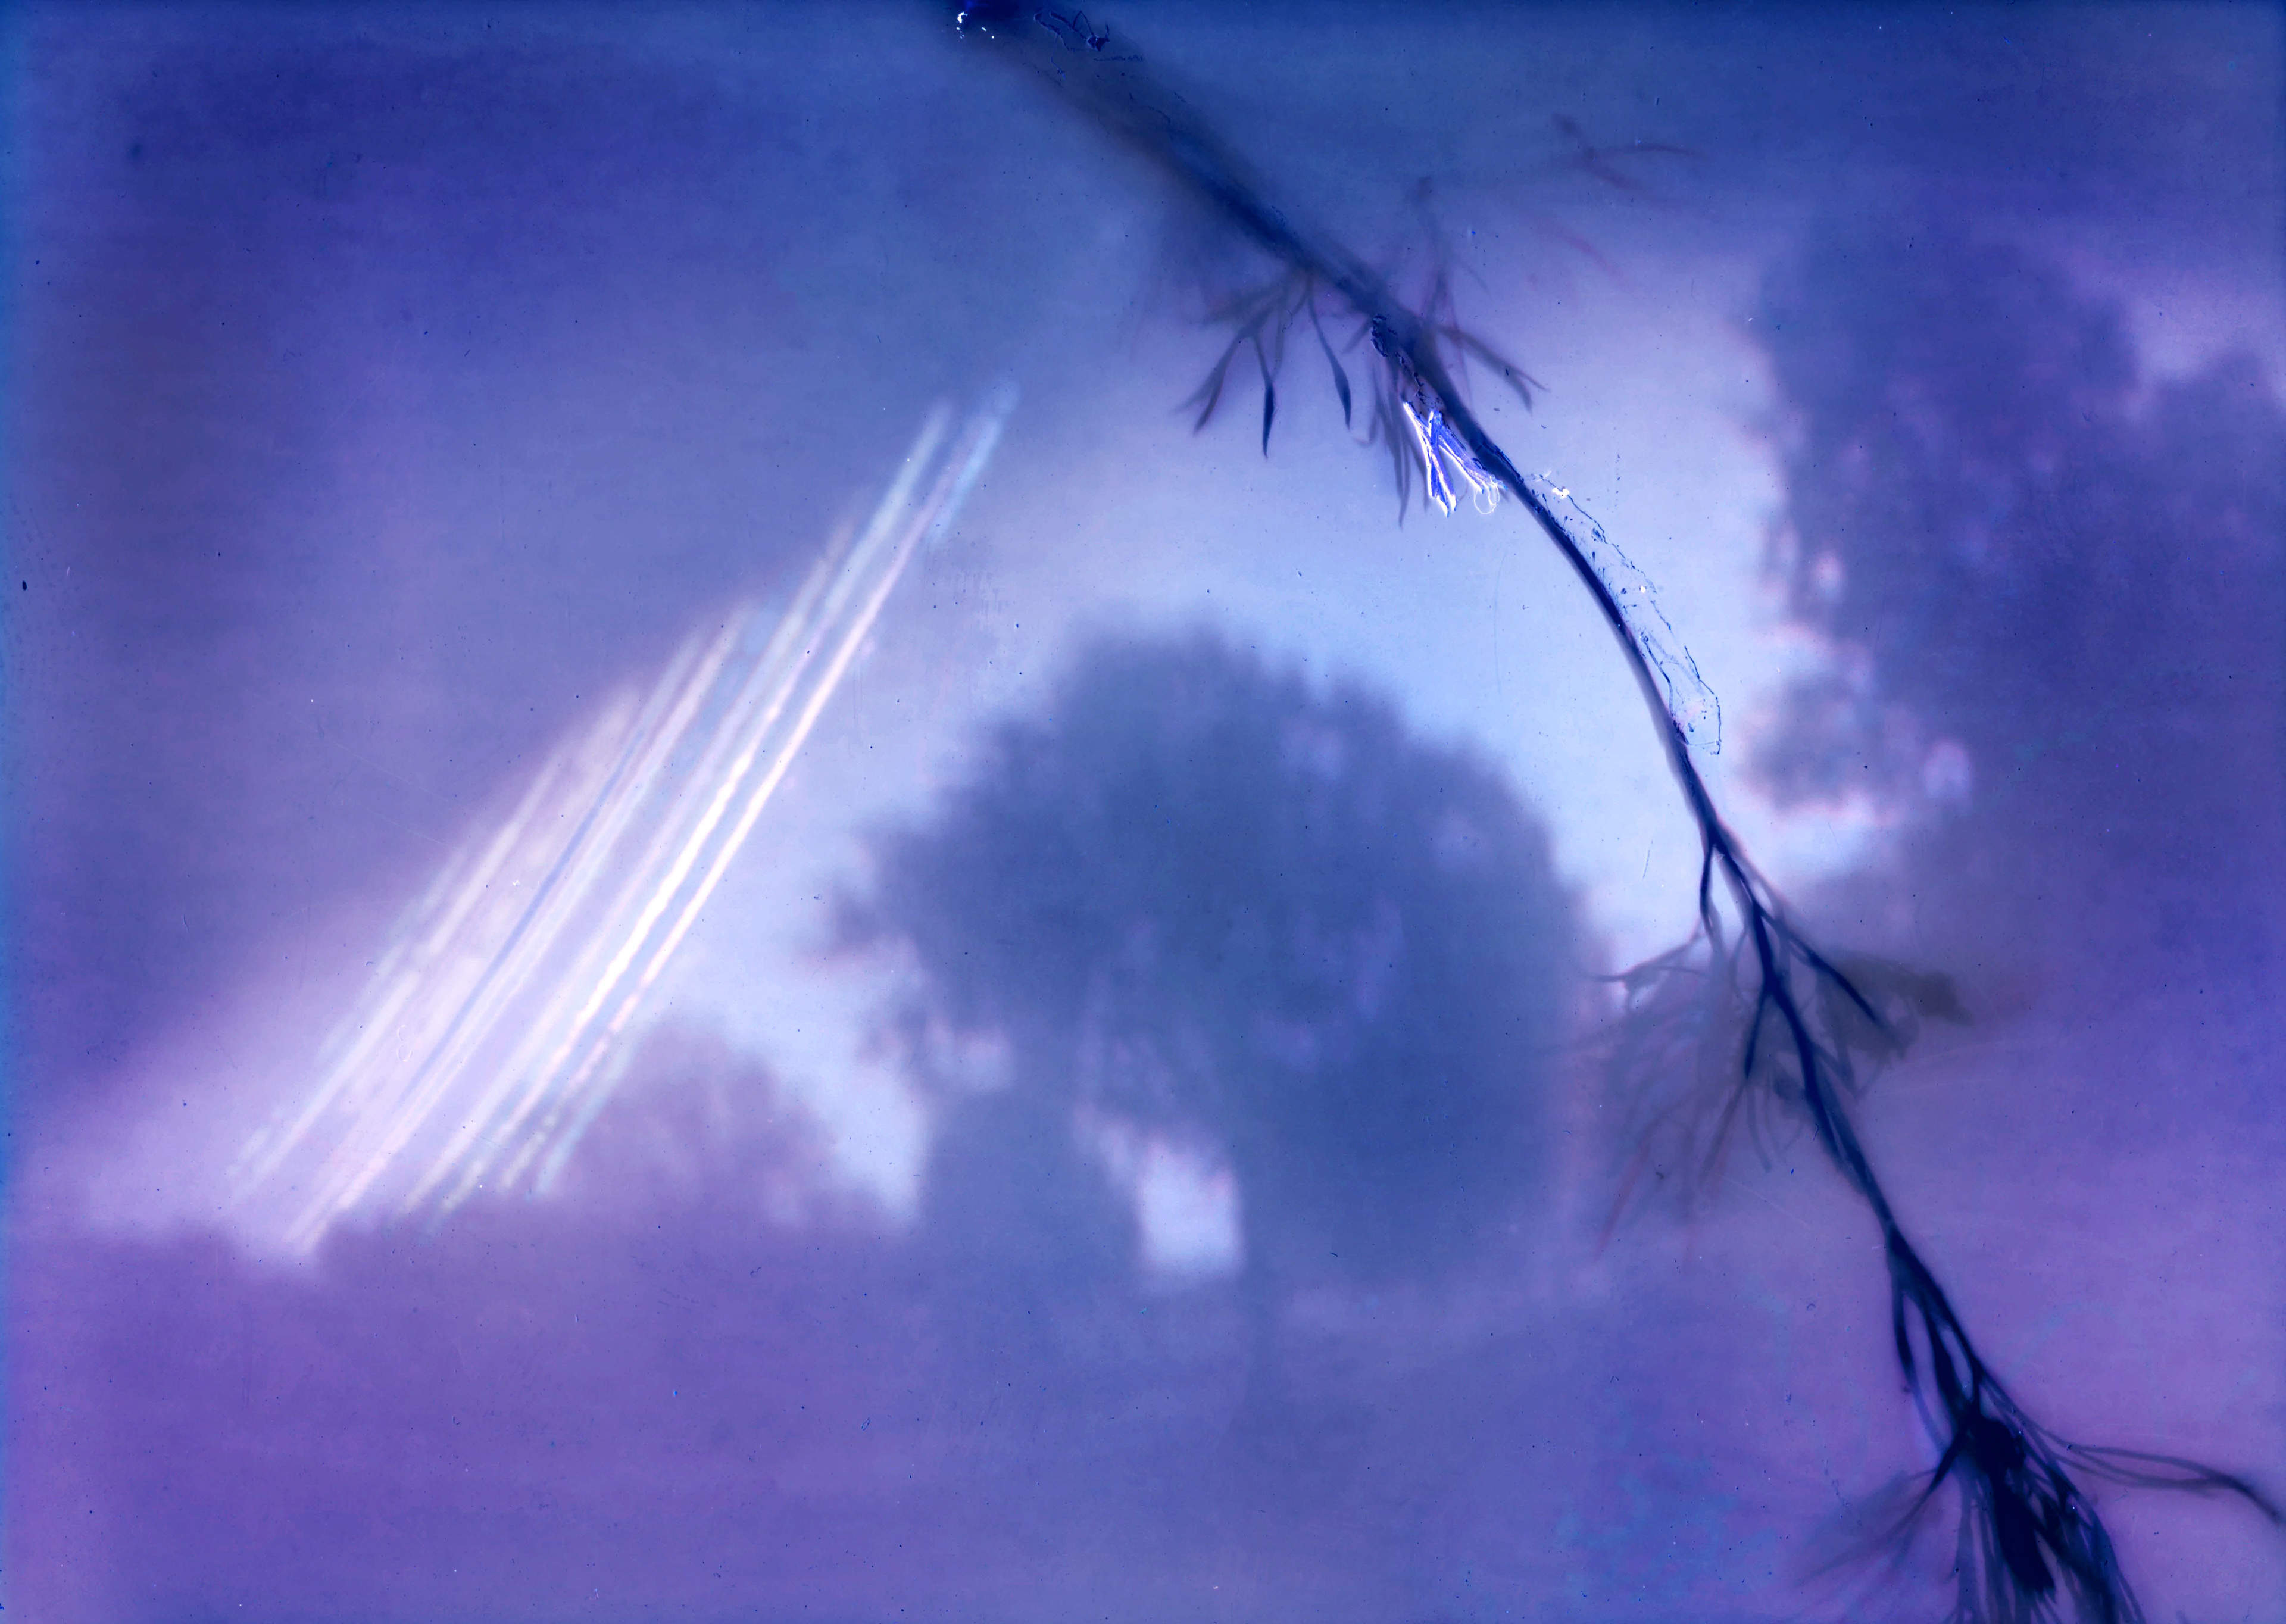
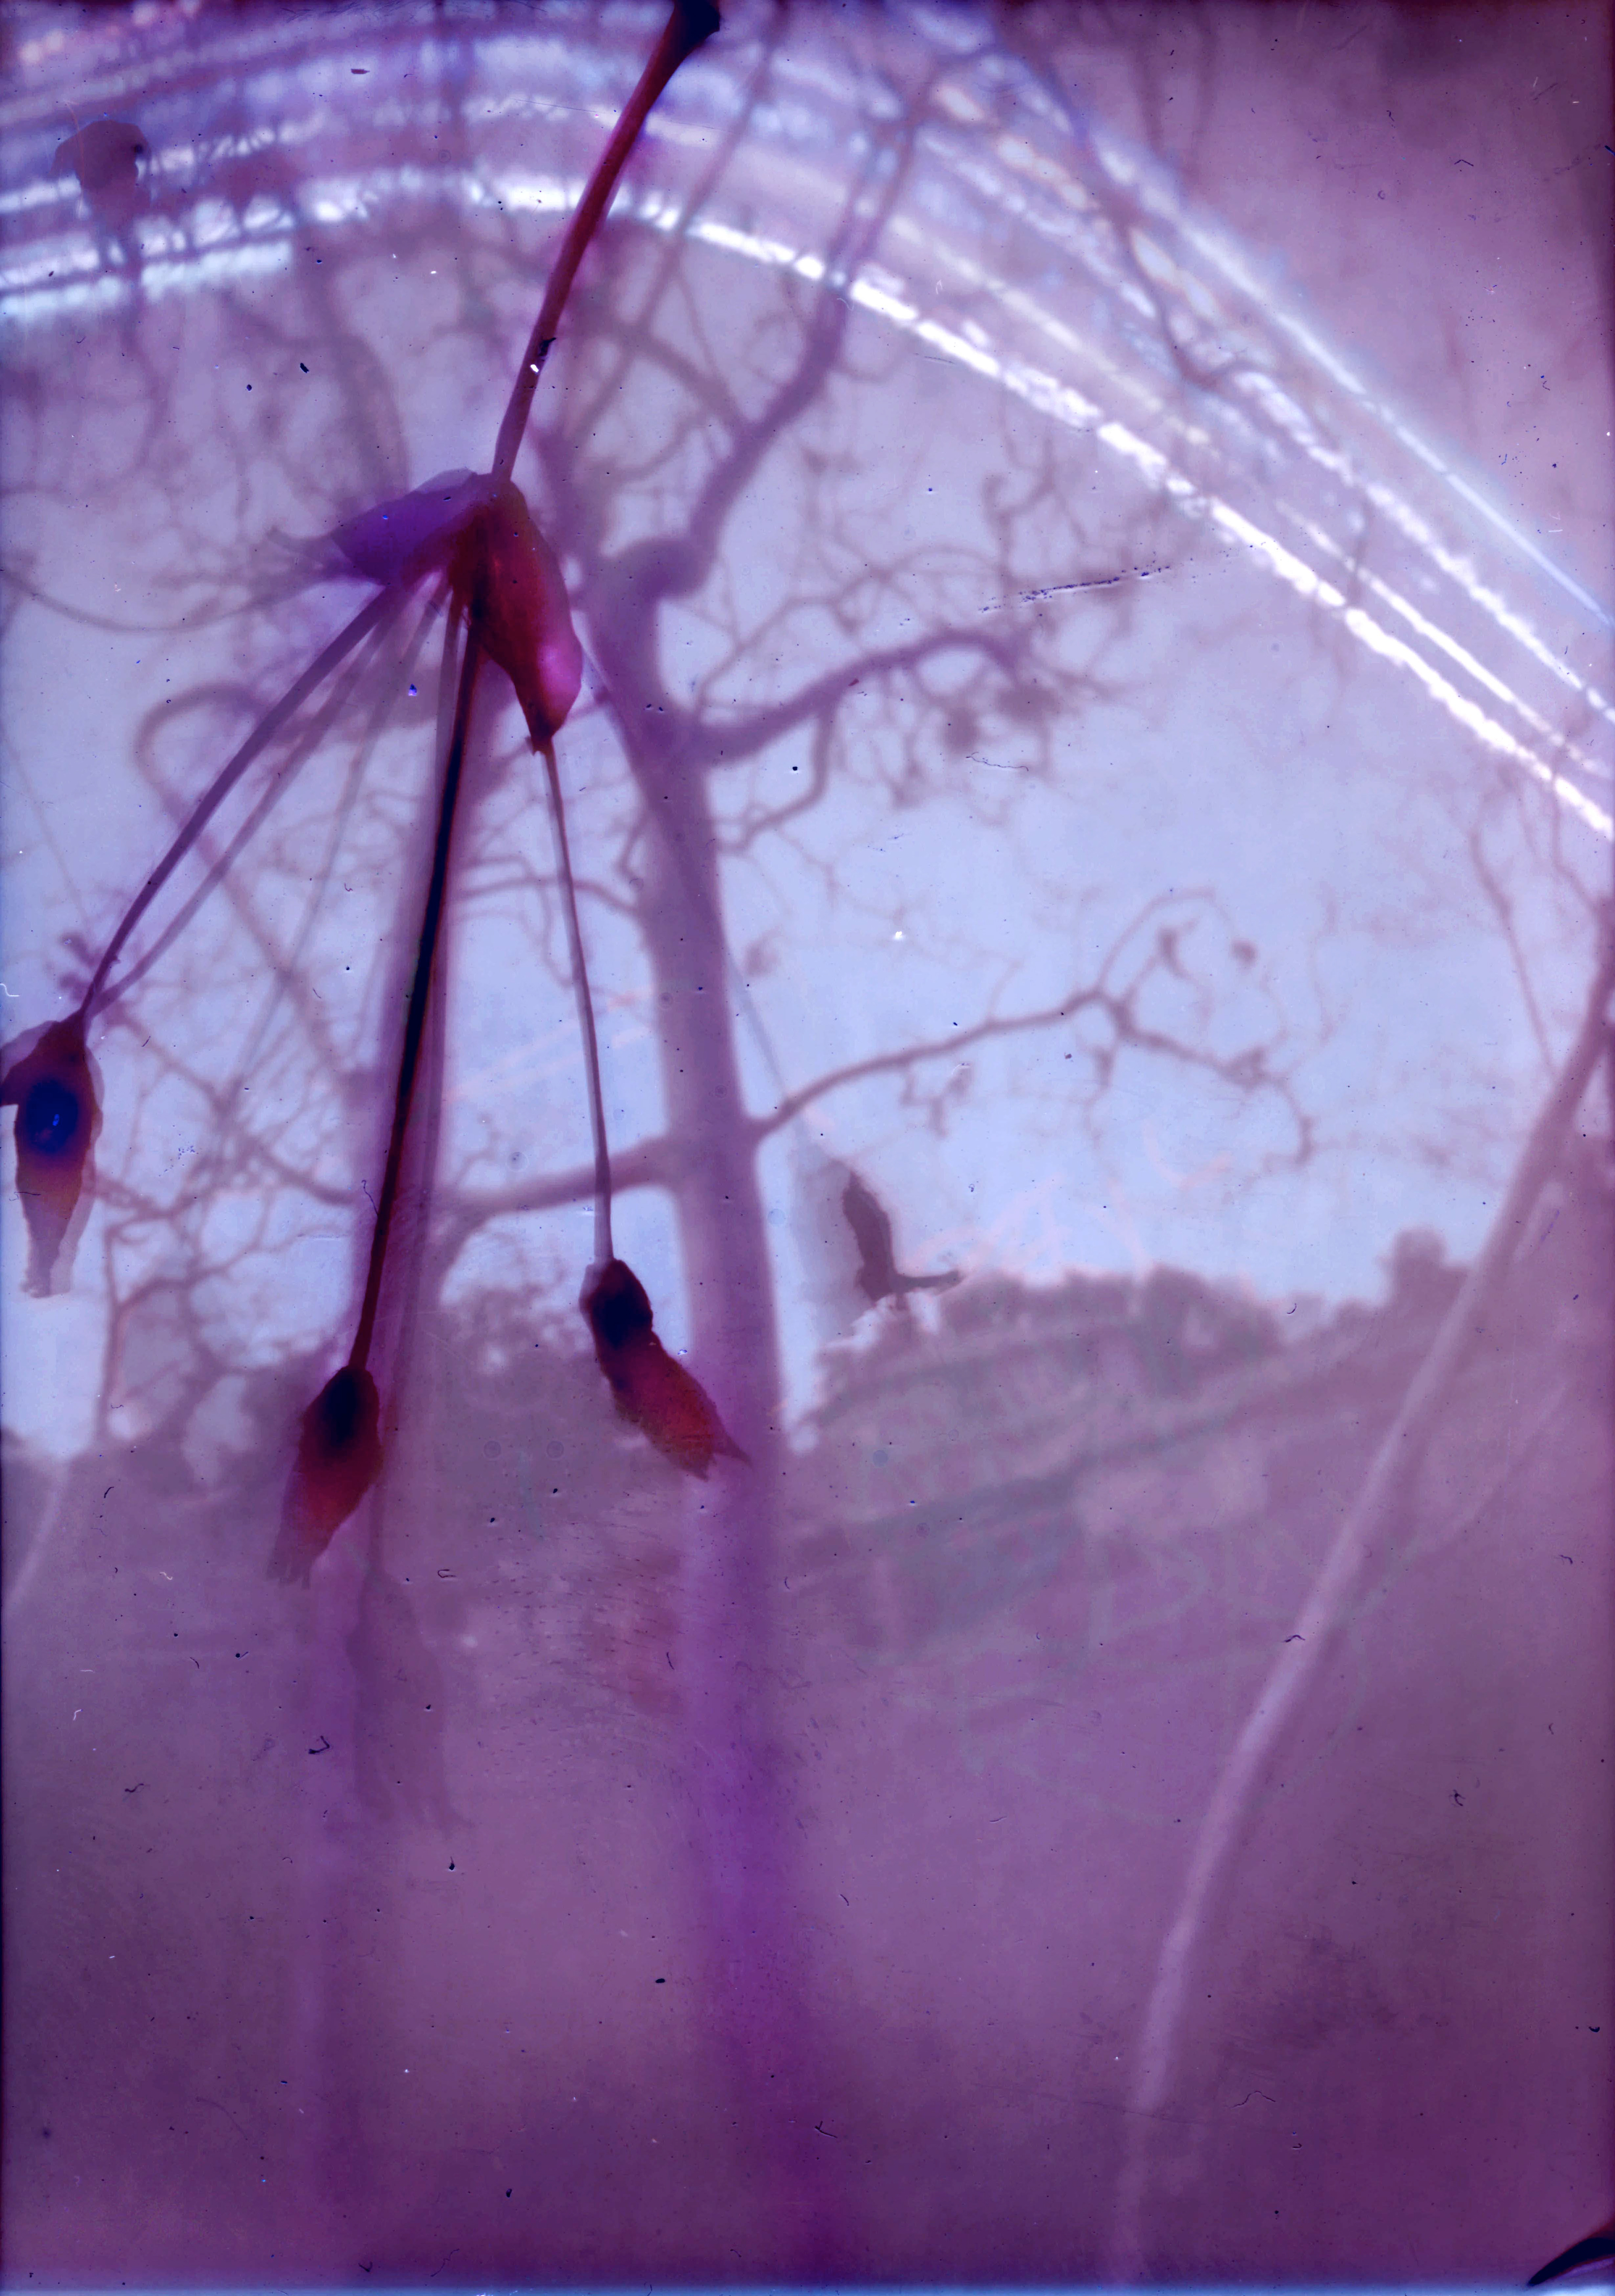
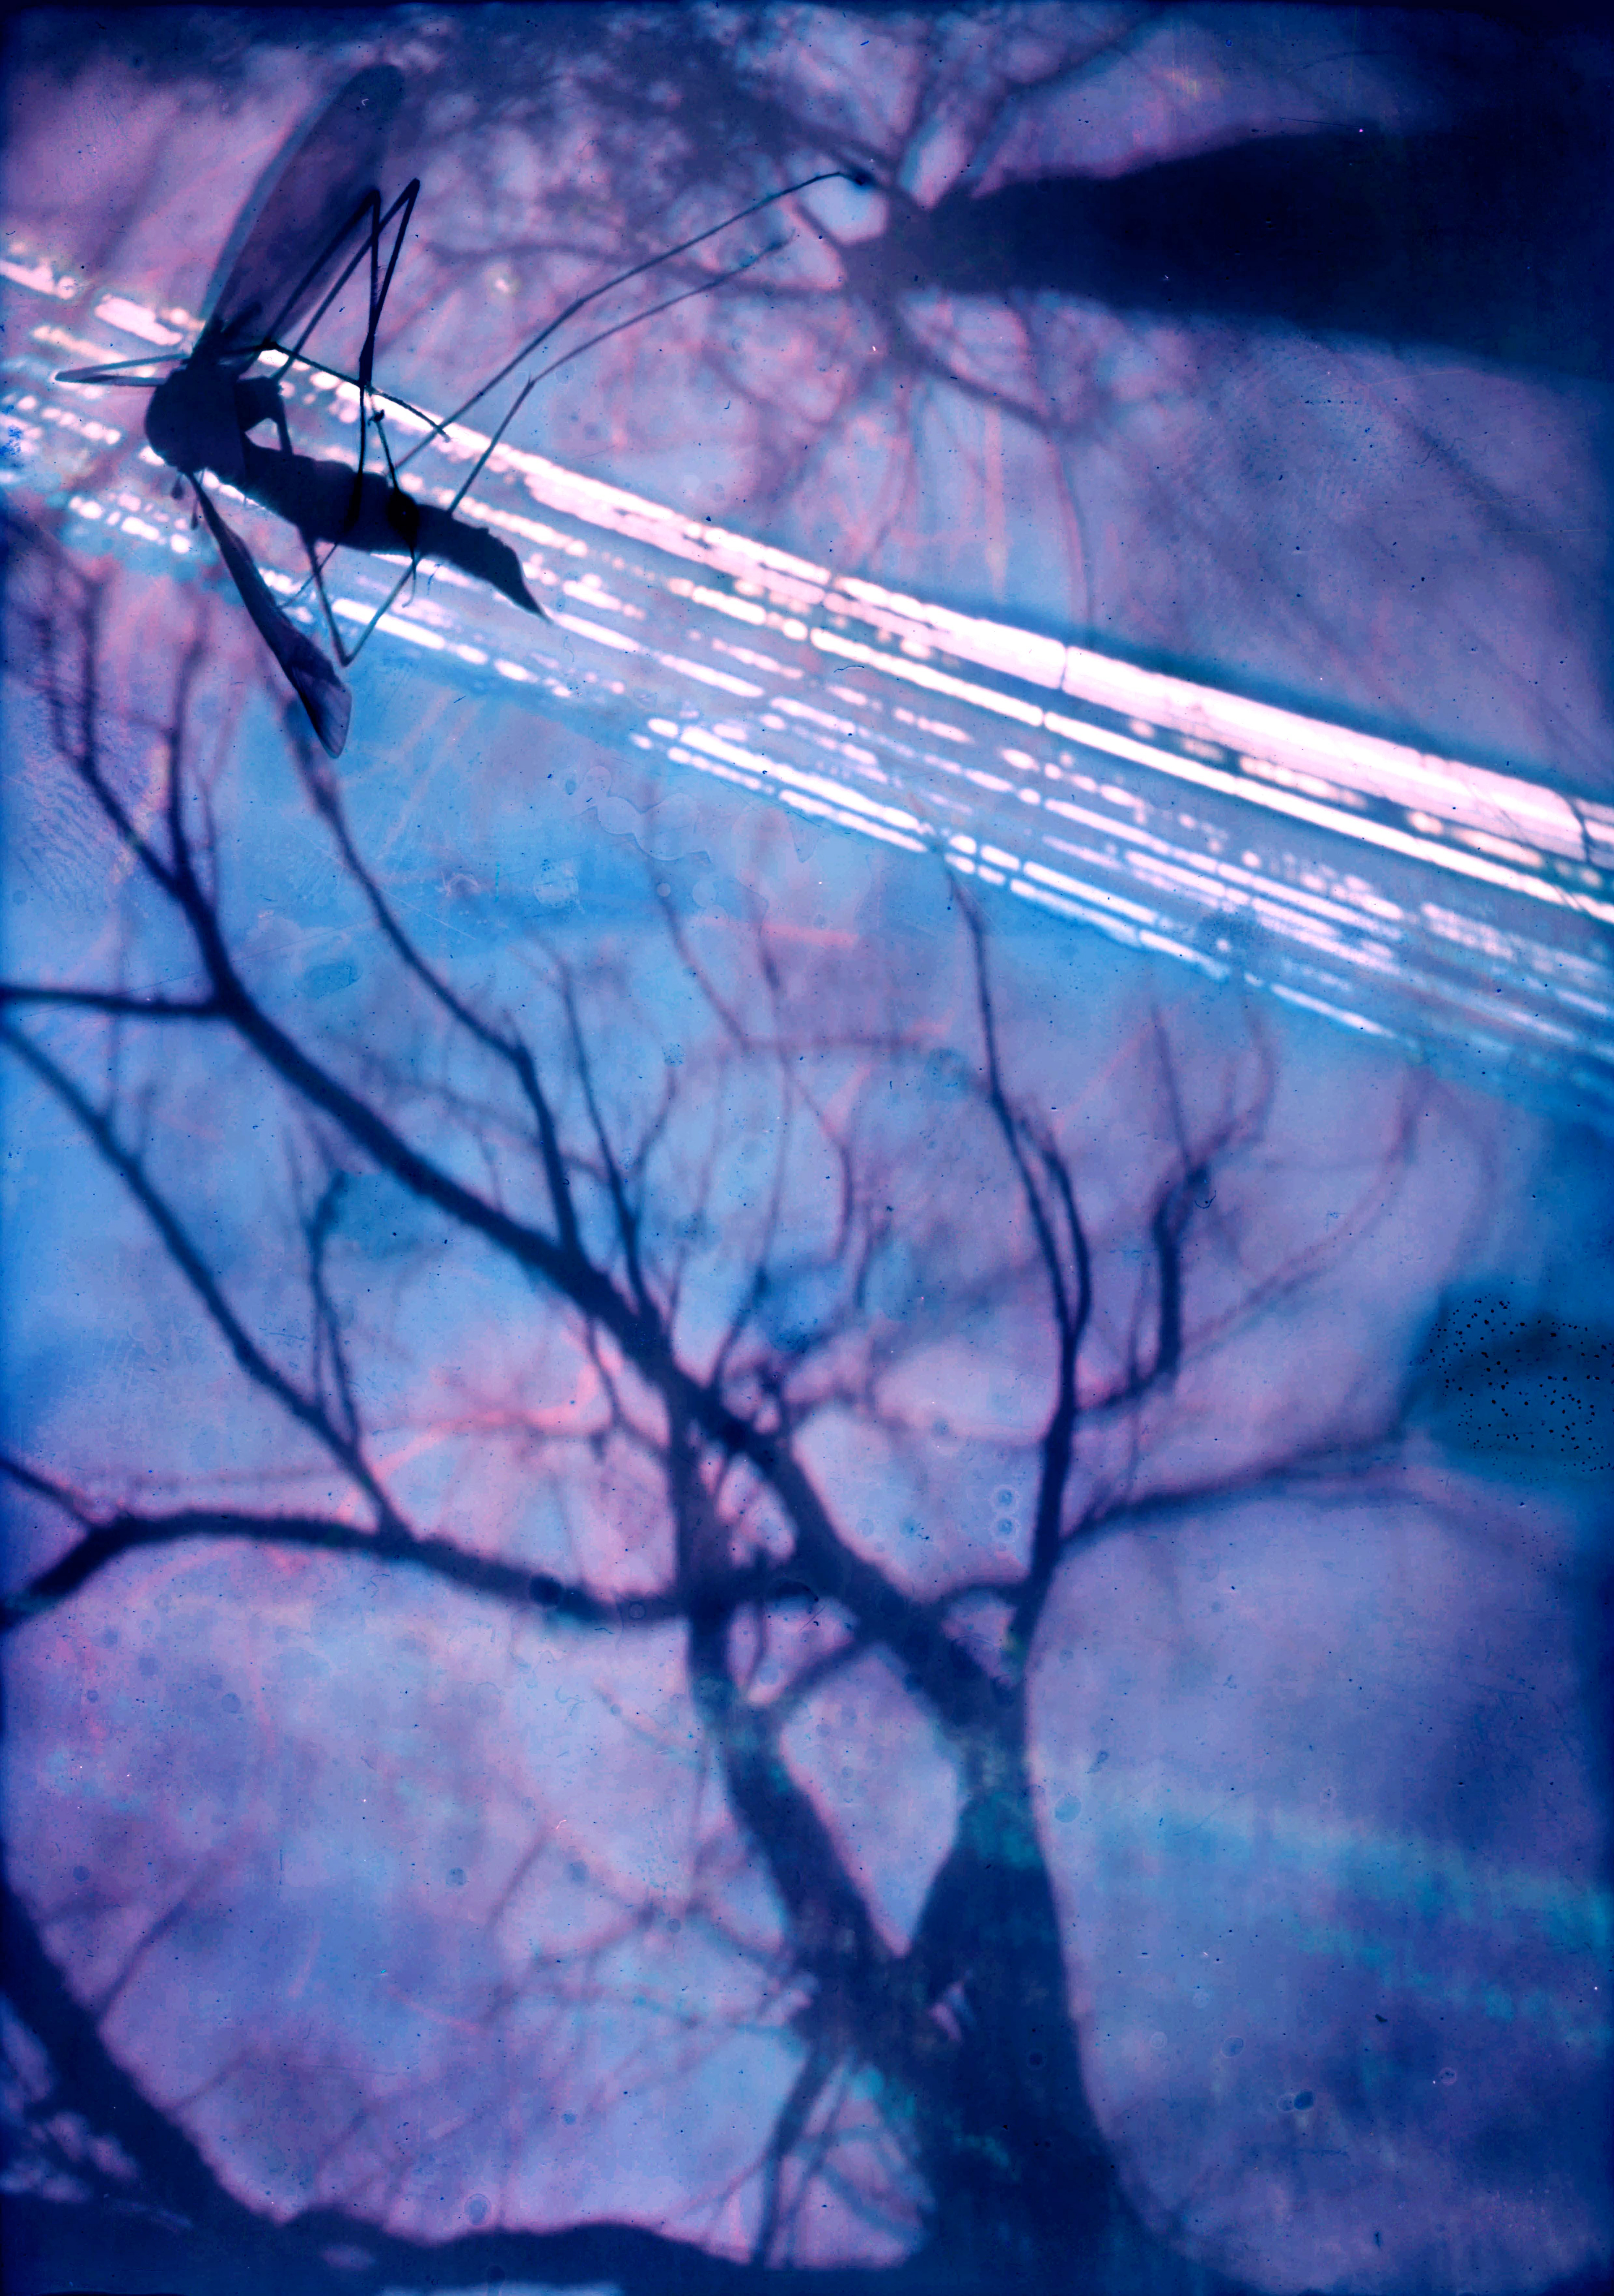
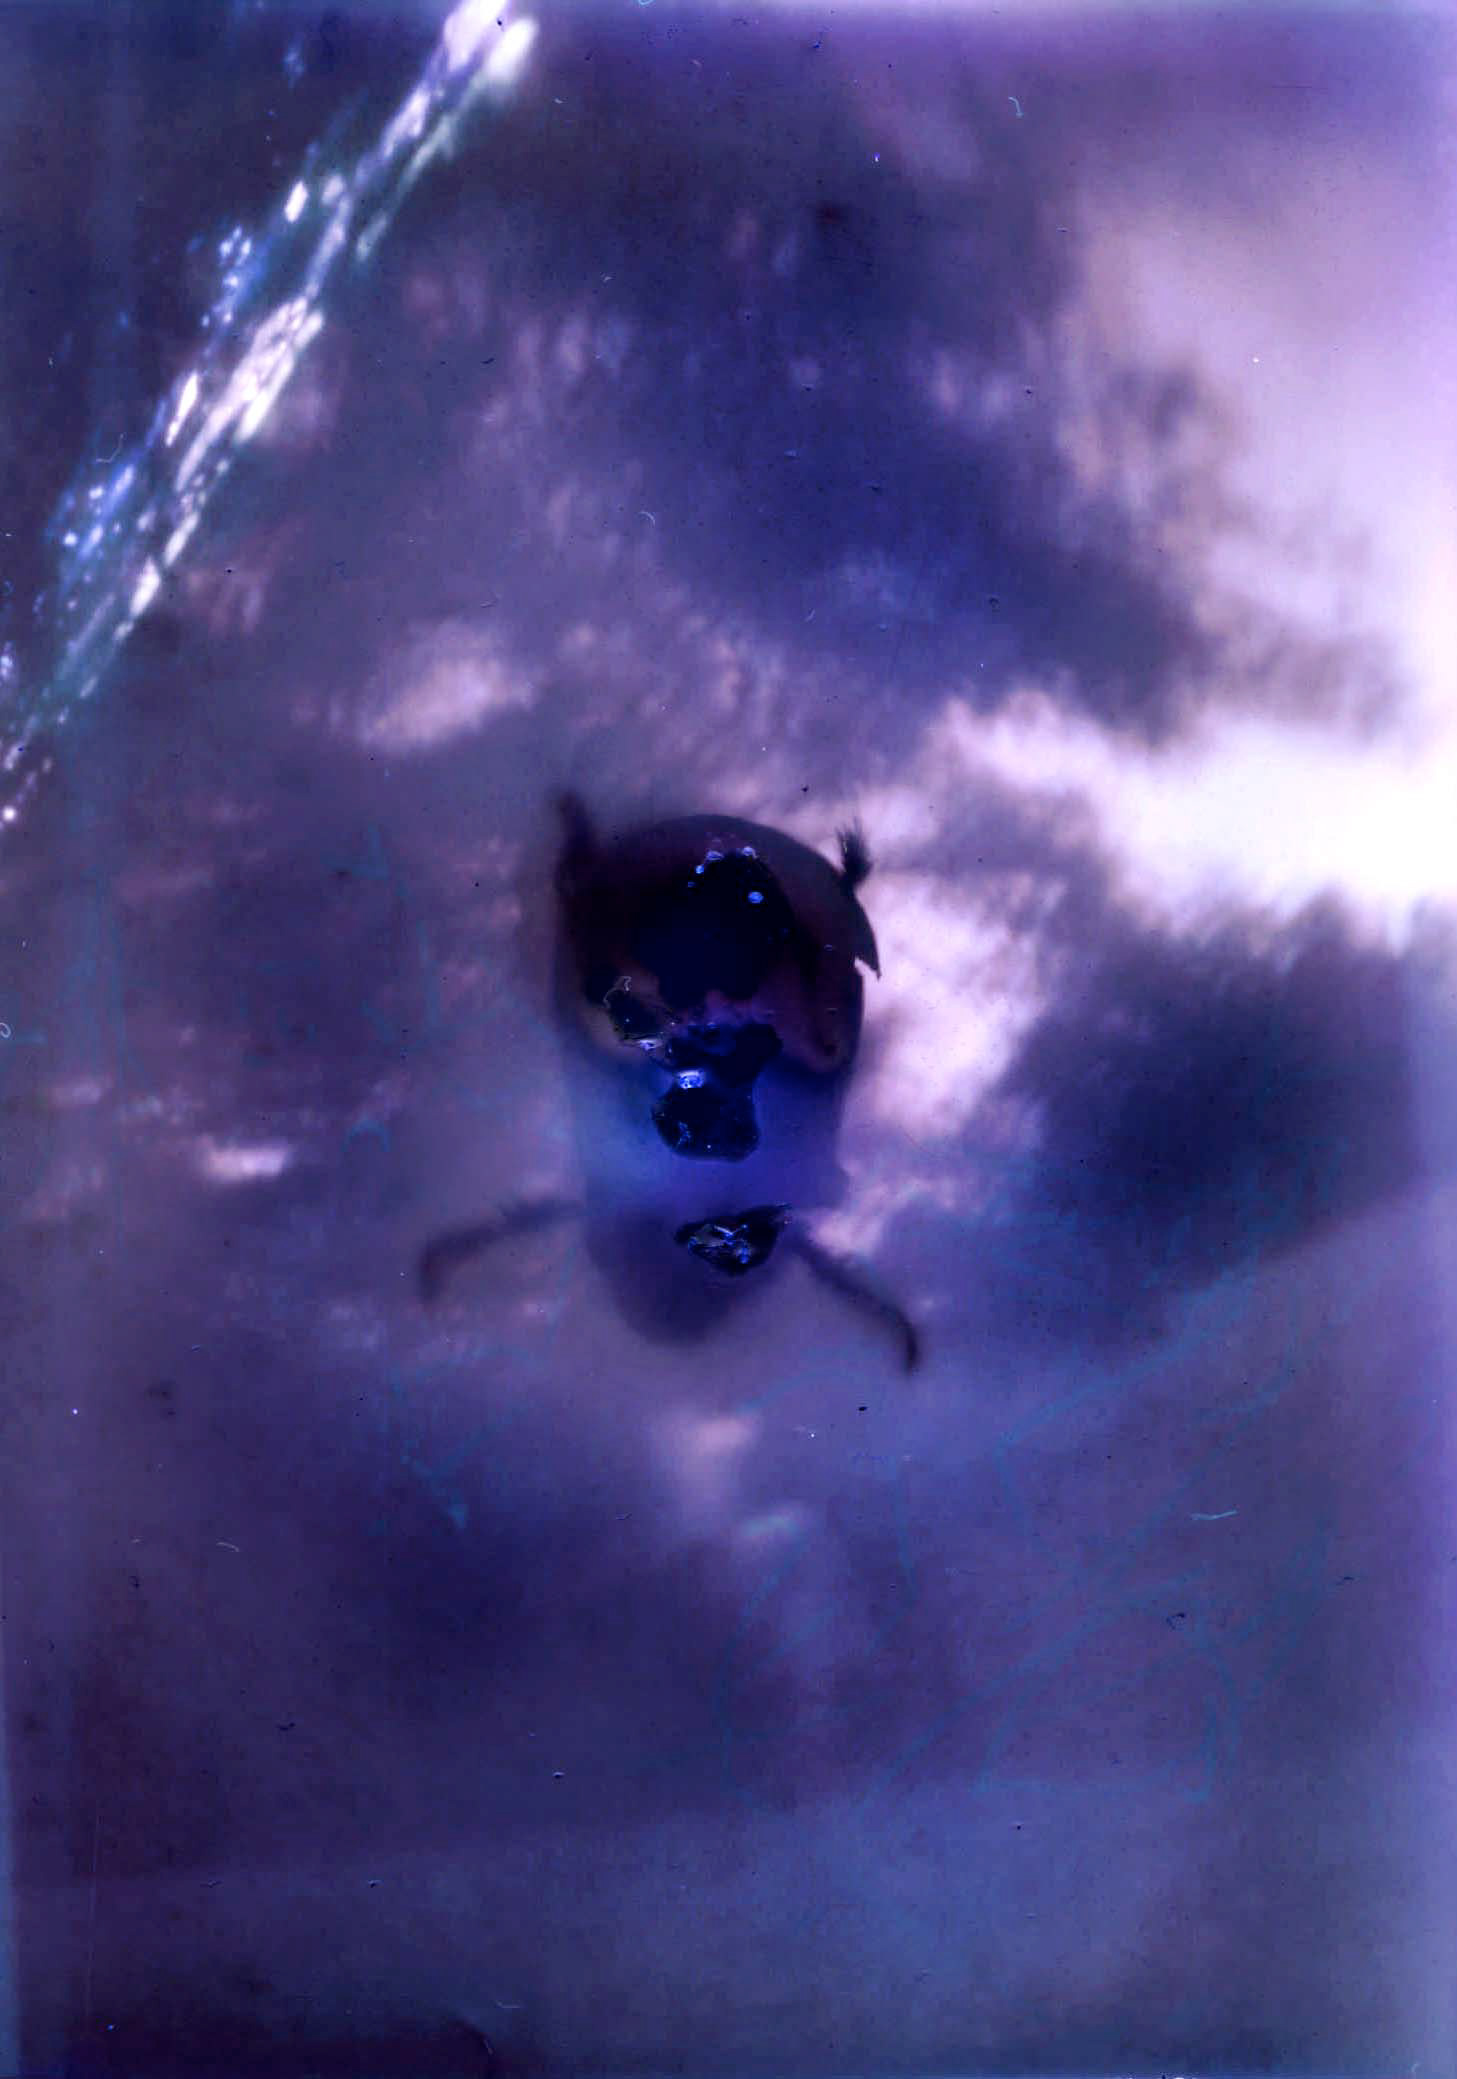
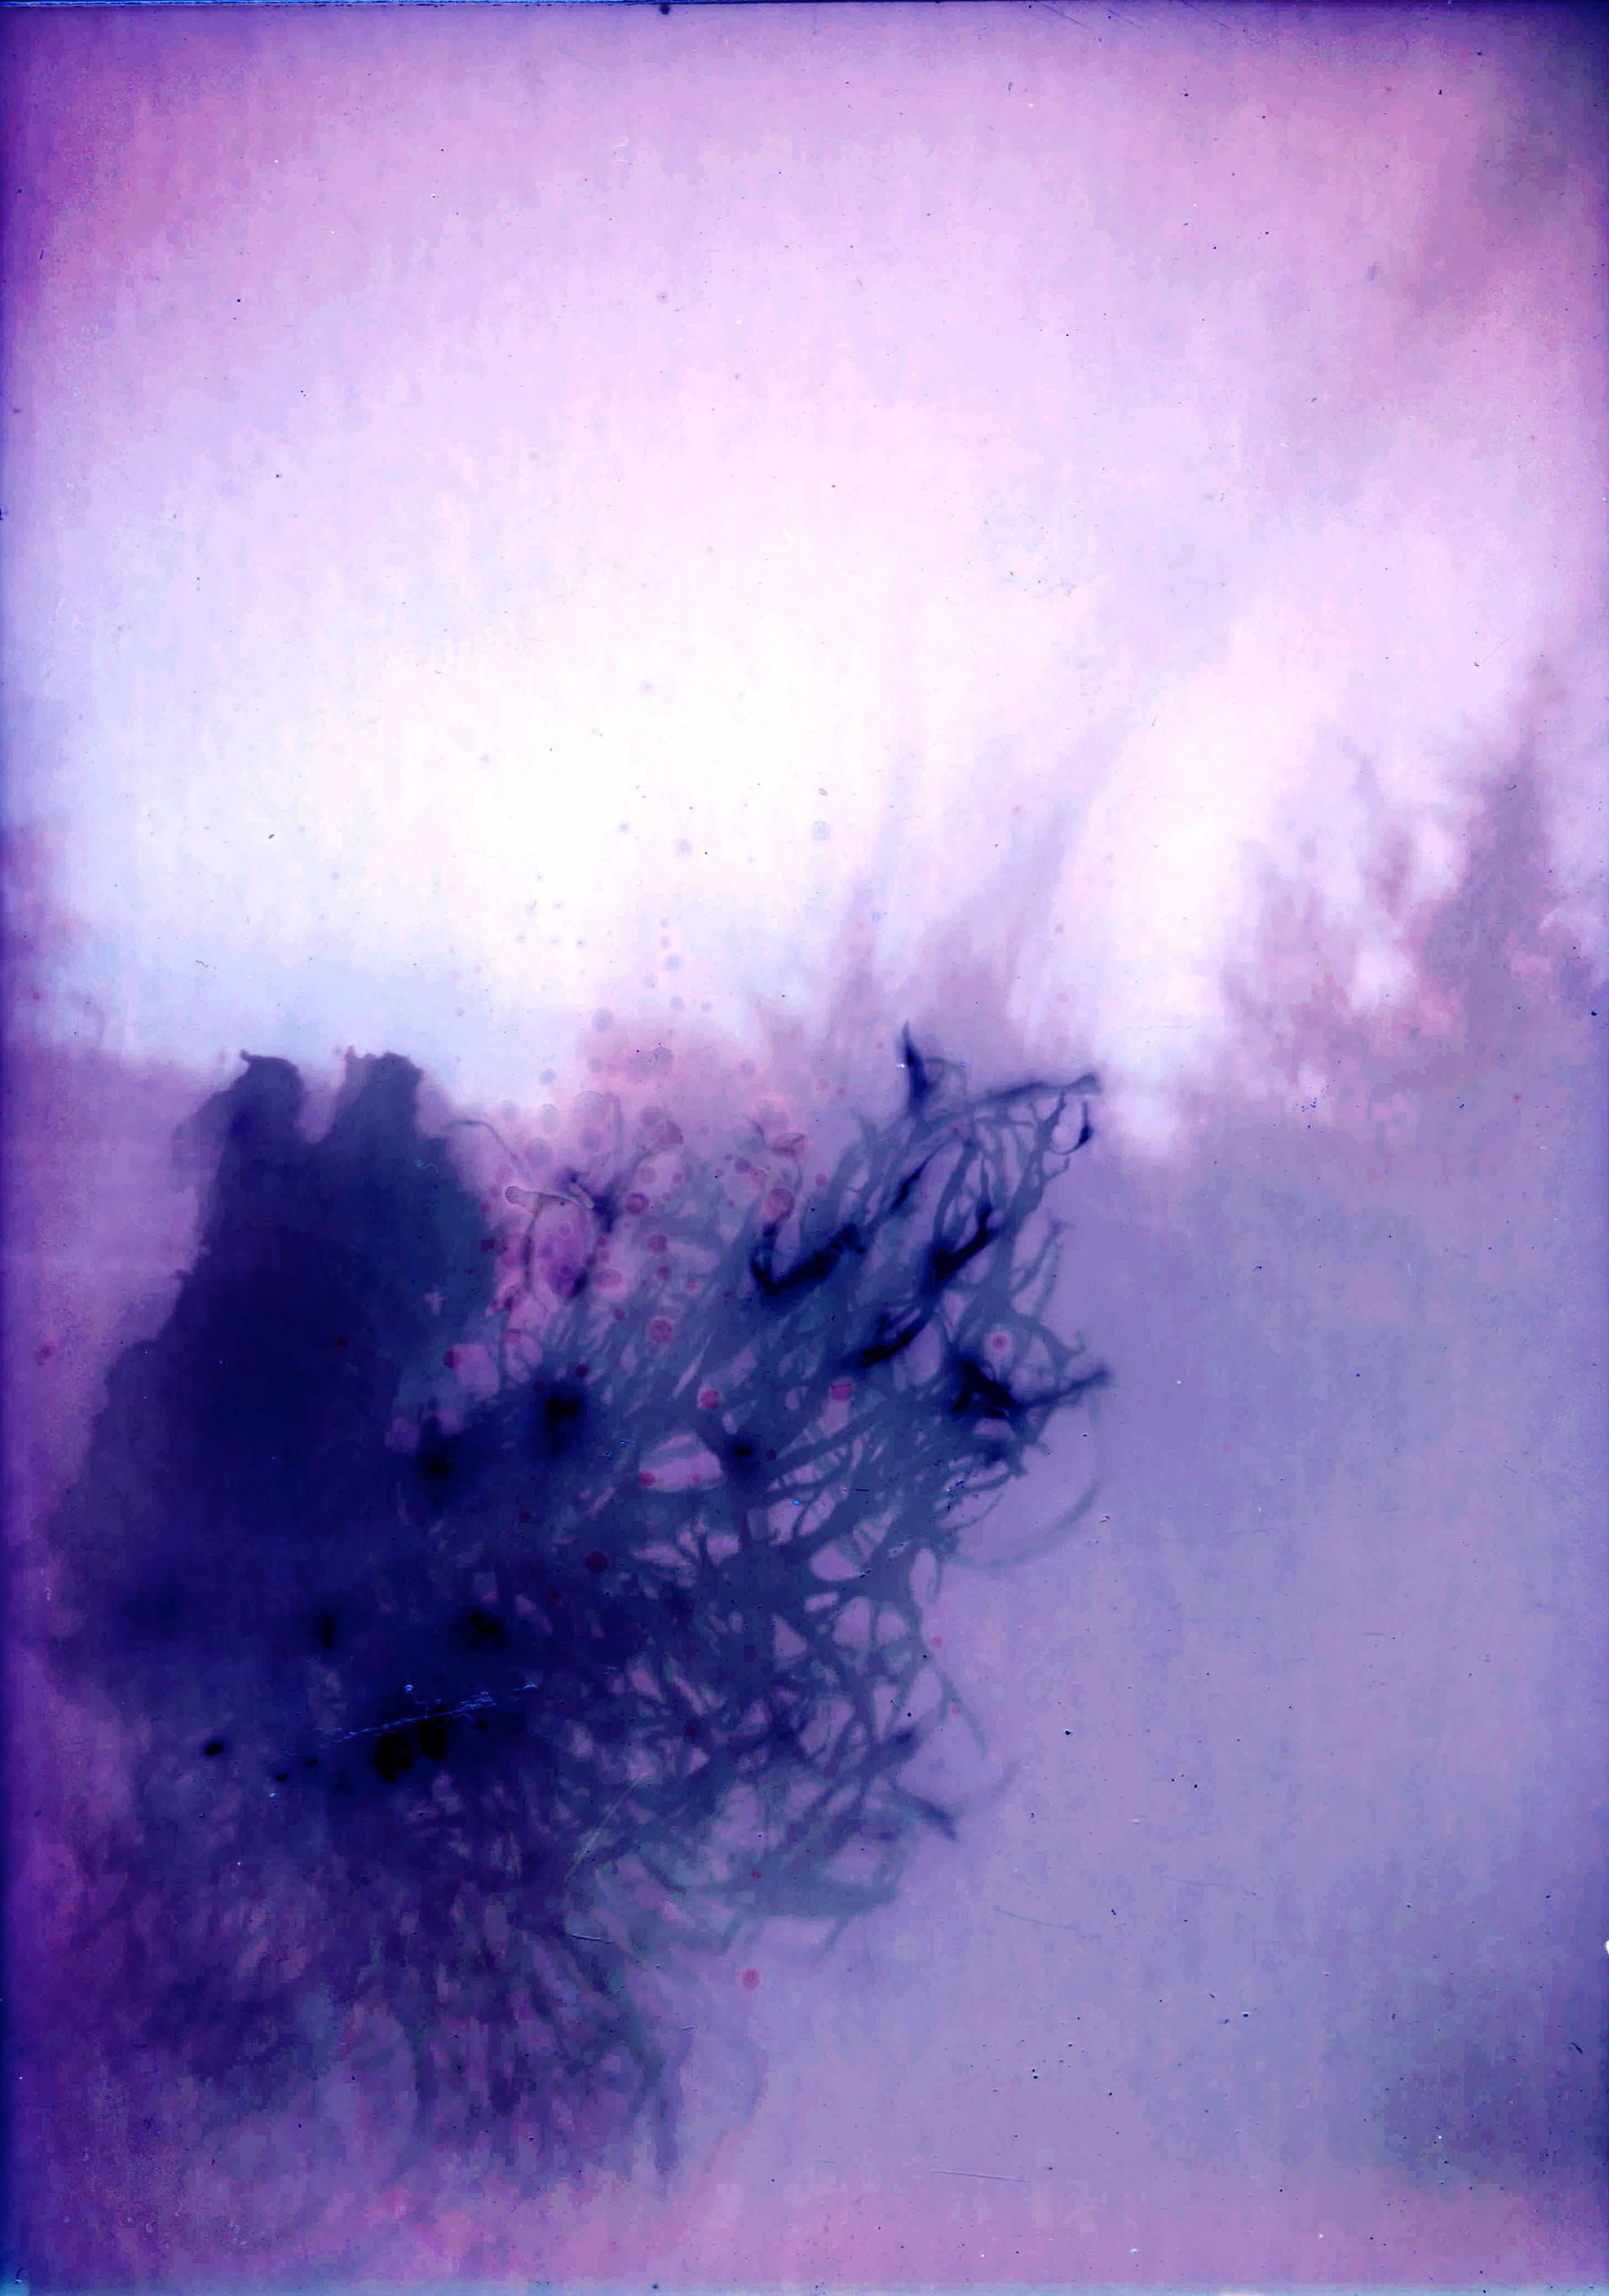
Final Images:
Color Infrared Photography
history
In 1910, a physicist named Robert Williams created the first known infrared photographs. It wasn't until 1930's that infrared film photography became commercially available when Kodak started creating infrared film. Aerochrome was created in the 1940's in collaboration with the US Military for WW2 aerial surveillance. In the 1960's in the midst of the psychedelic movement, it secured its spot in pop culture history by being found on popular album art at the time like Jimmi Hendrix's Are You Experienced and Frank Zappa's Hot Rats. Aerochrome was discontinued in 2009, but since then many photographers have gone out of their way to recreate the look of it digitally.
technique
Because this was my first time experimenting with Infrared Photography, I was hesitant to use film since I didn't want to waste my money or time if the photos didn't turn out like I'd hoped. After doing some research, I found that there was a way to recreate the look of Aerochrome film digitally. The main resource for this was Joshua Bird's "Recreating Aerochrome – A Discontinued Infrared Film" video on YouTube. I was also able to find more information on his blog post here. He explained that by using the RGB channels in Photoshop, you could alter your image in post-processing to recreate the look of Aerochrome.
The materials I used were my Canon Rebel T6i, a tripod, a dark red infrared filter (ICE IR 52mm 52 Slim Filter Infrared Infra-Red 760HB 760nm 760 Optical Glass), and a red and green gel filter.
For each photo I wanted to take, I would take one with the infrared filter, one with the red filter, and one with the green filter.
My camera was set at 400 ISO for all of these images. For the infrared filter, it requires a long exposure because the lens is so deep red, it is basically black. Each one of the infrared photographs is a 15 second long exposure shot. Then I would take the red and green filter images is normal exposure.
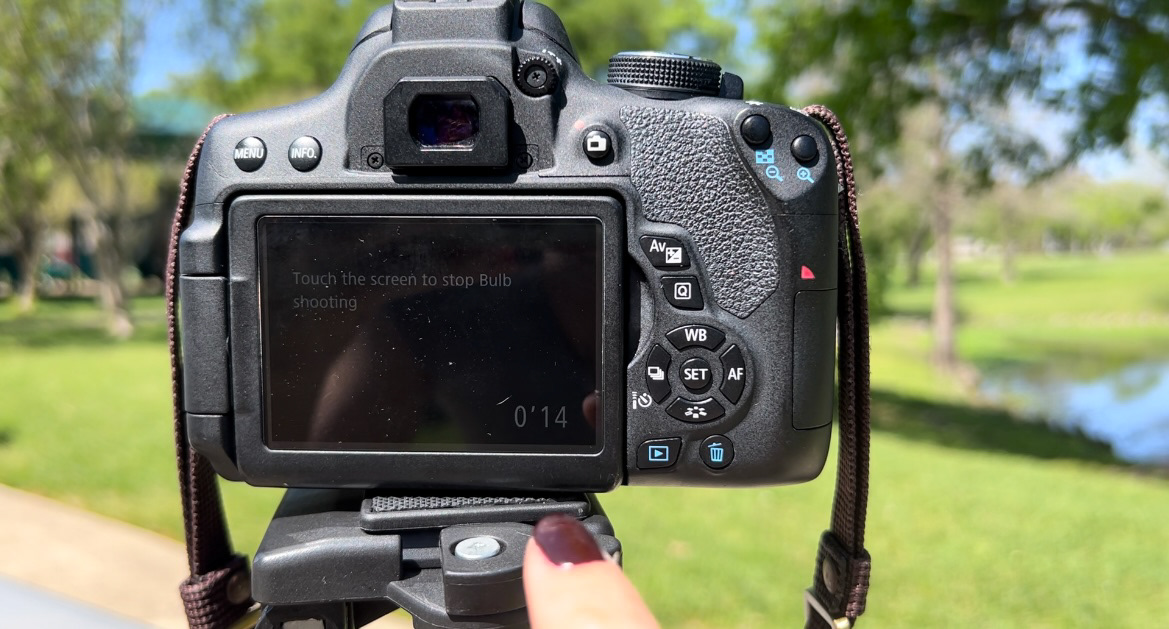
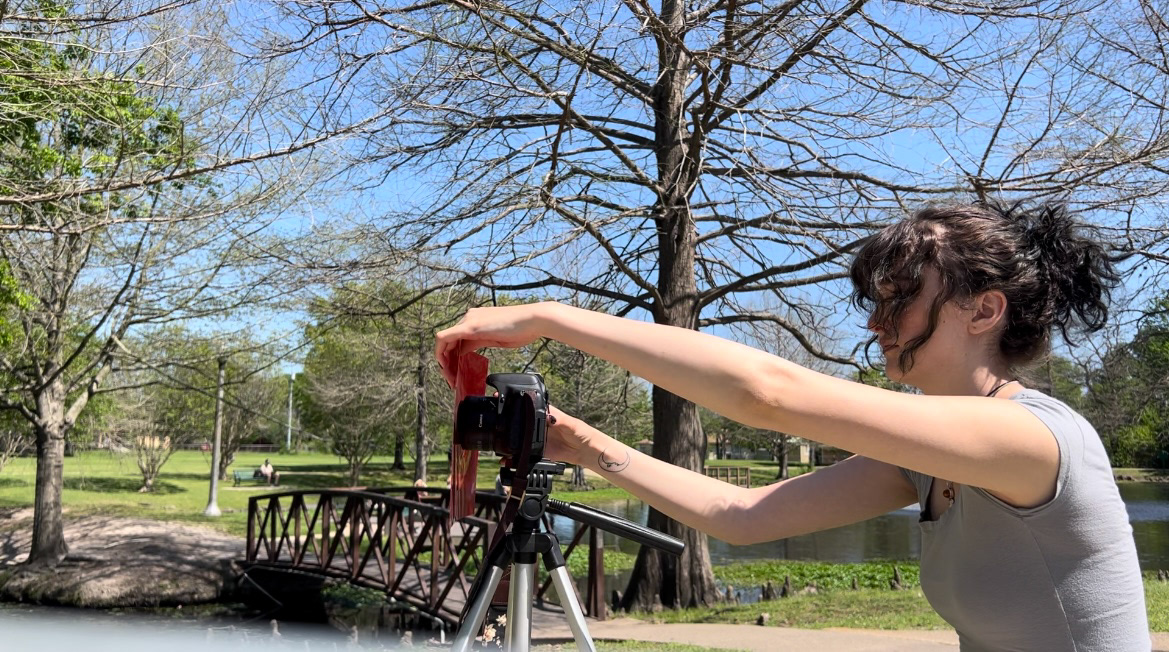
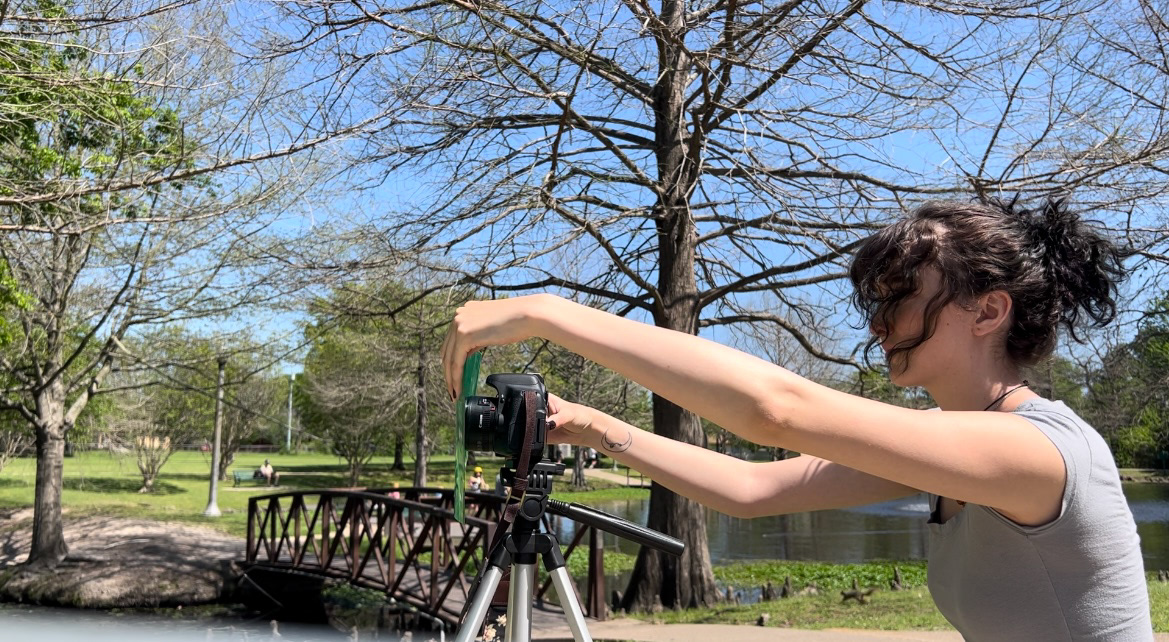
Once I had all of my images taken, I would import everything into photoshop.
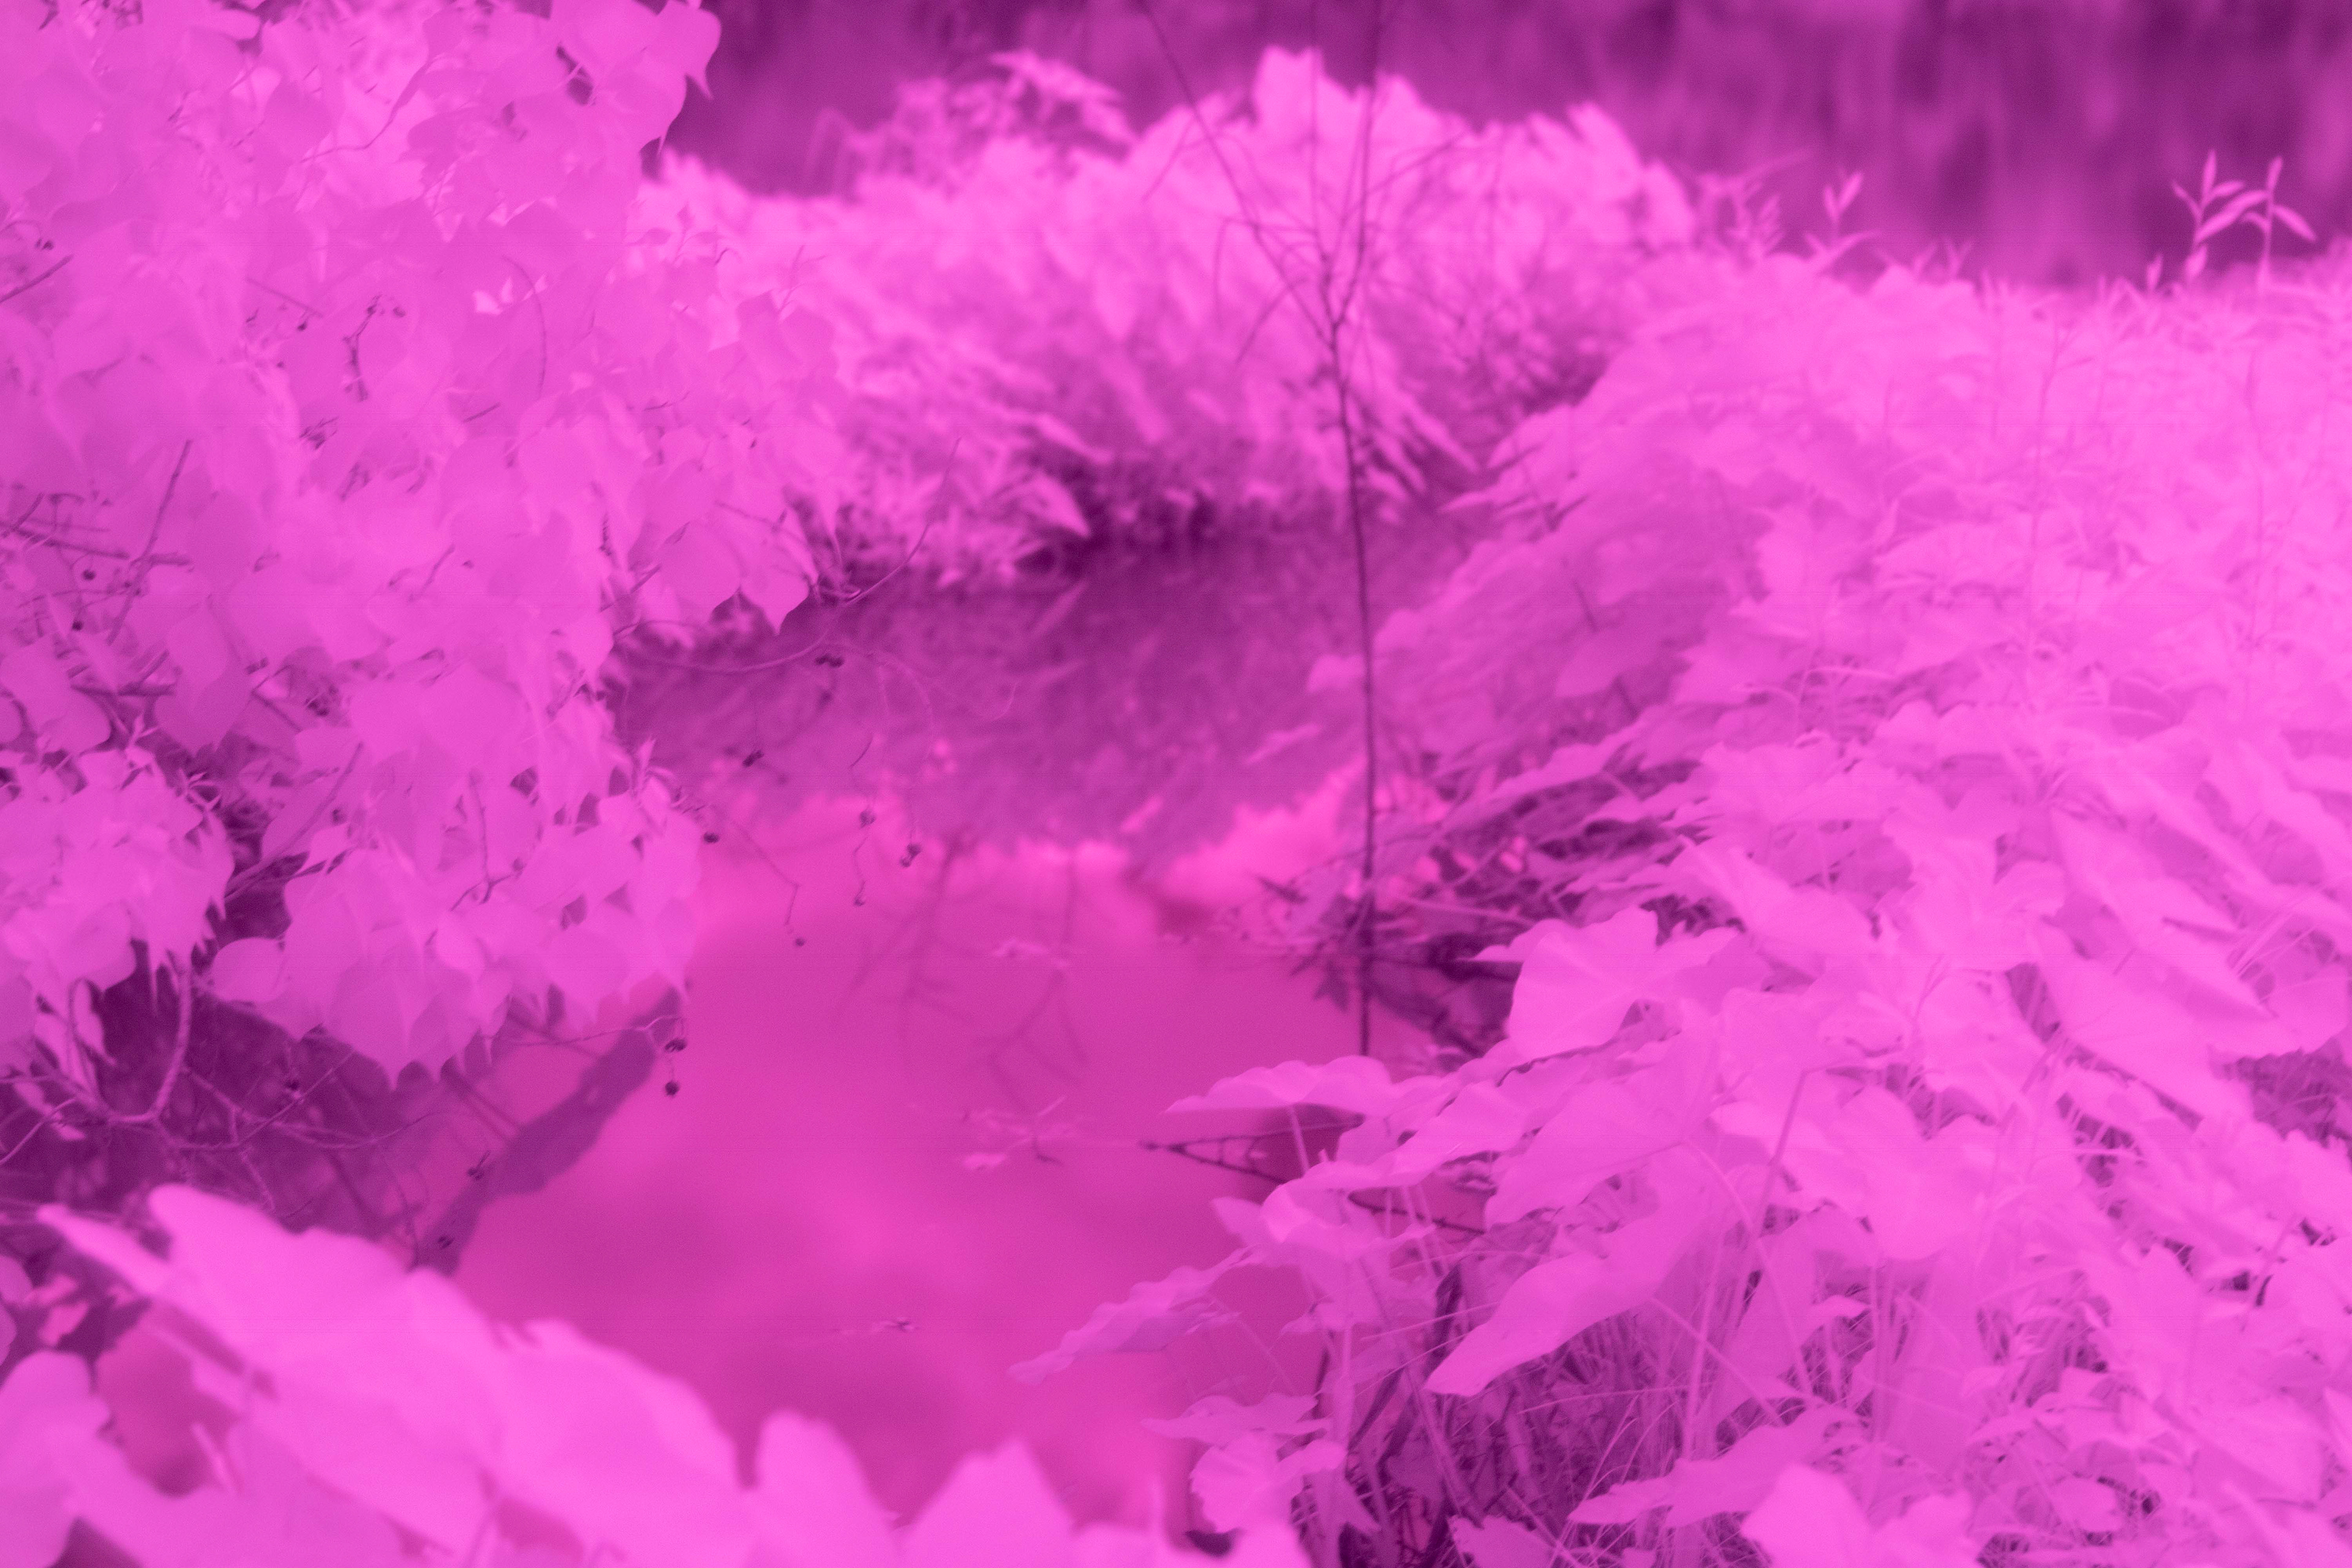
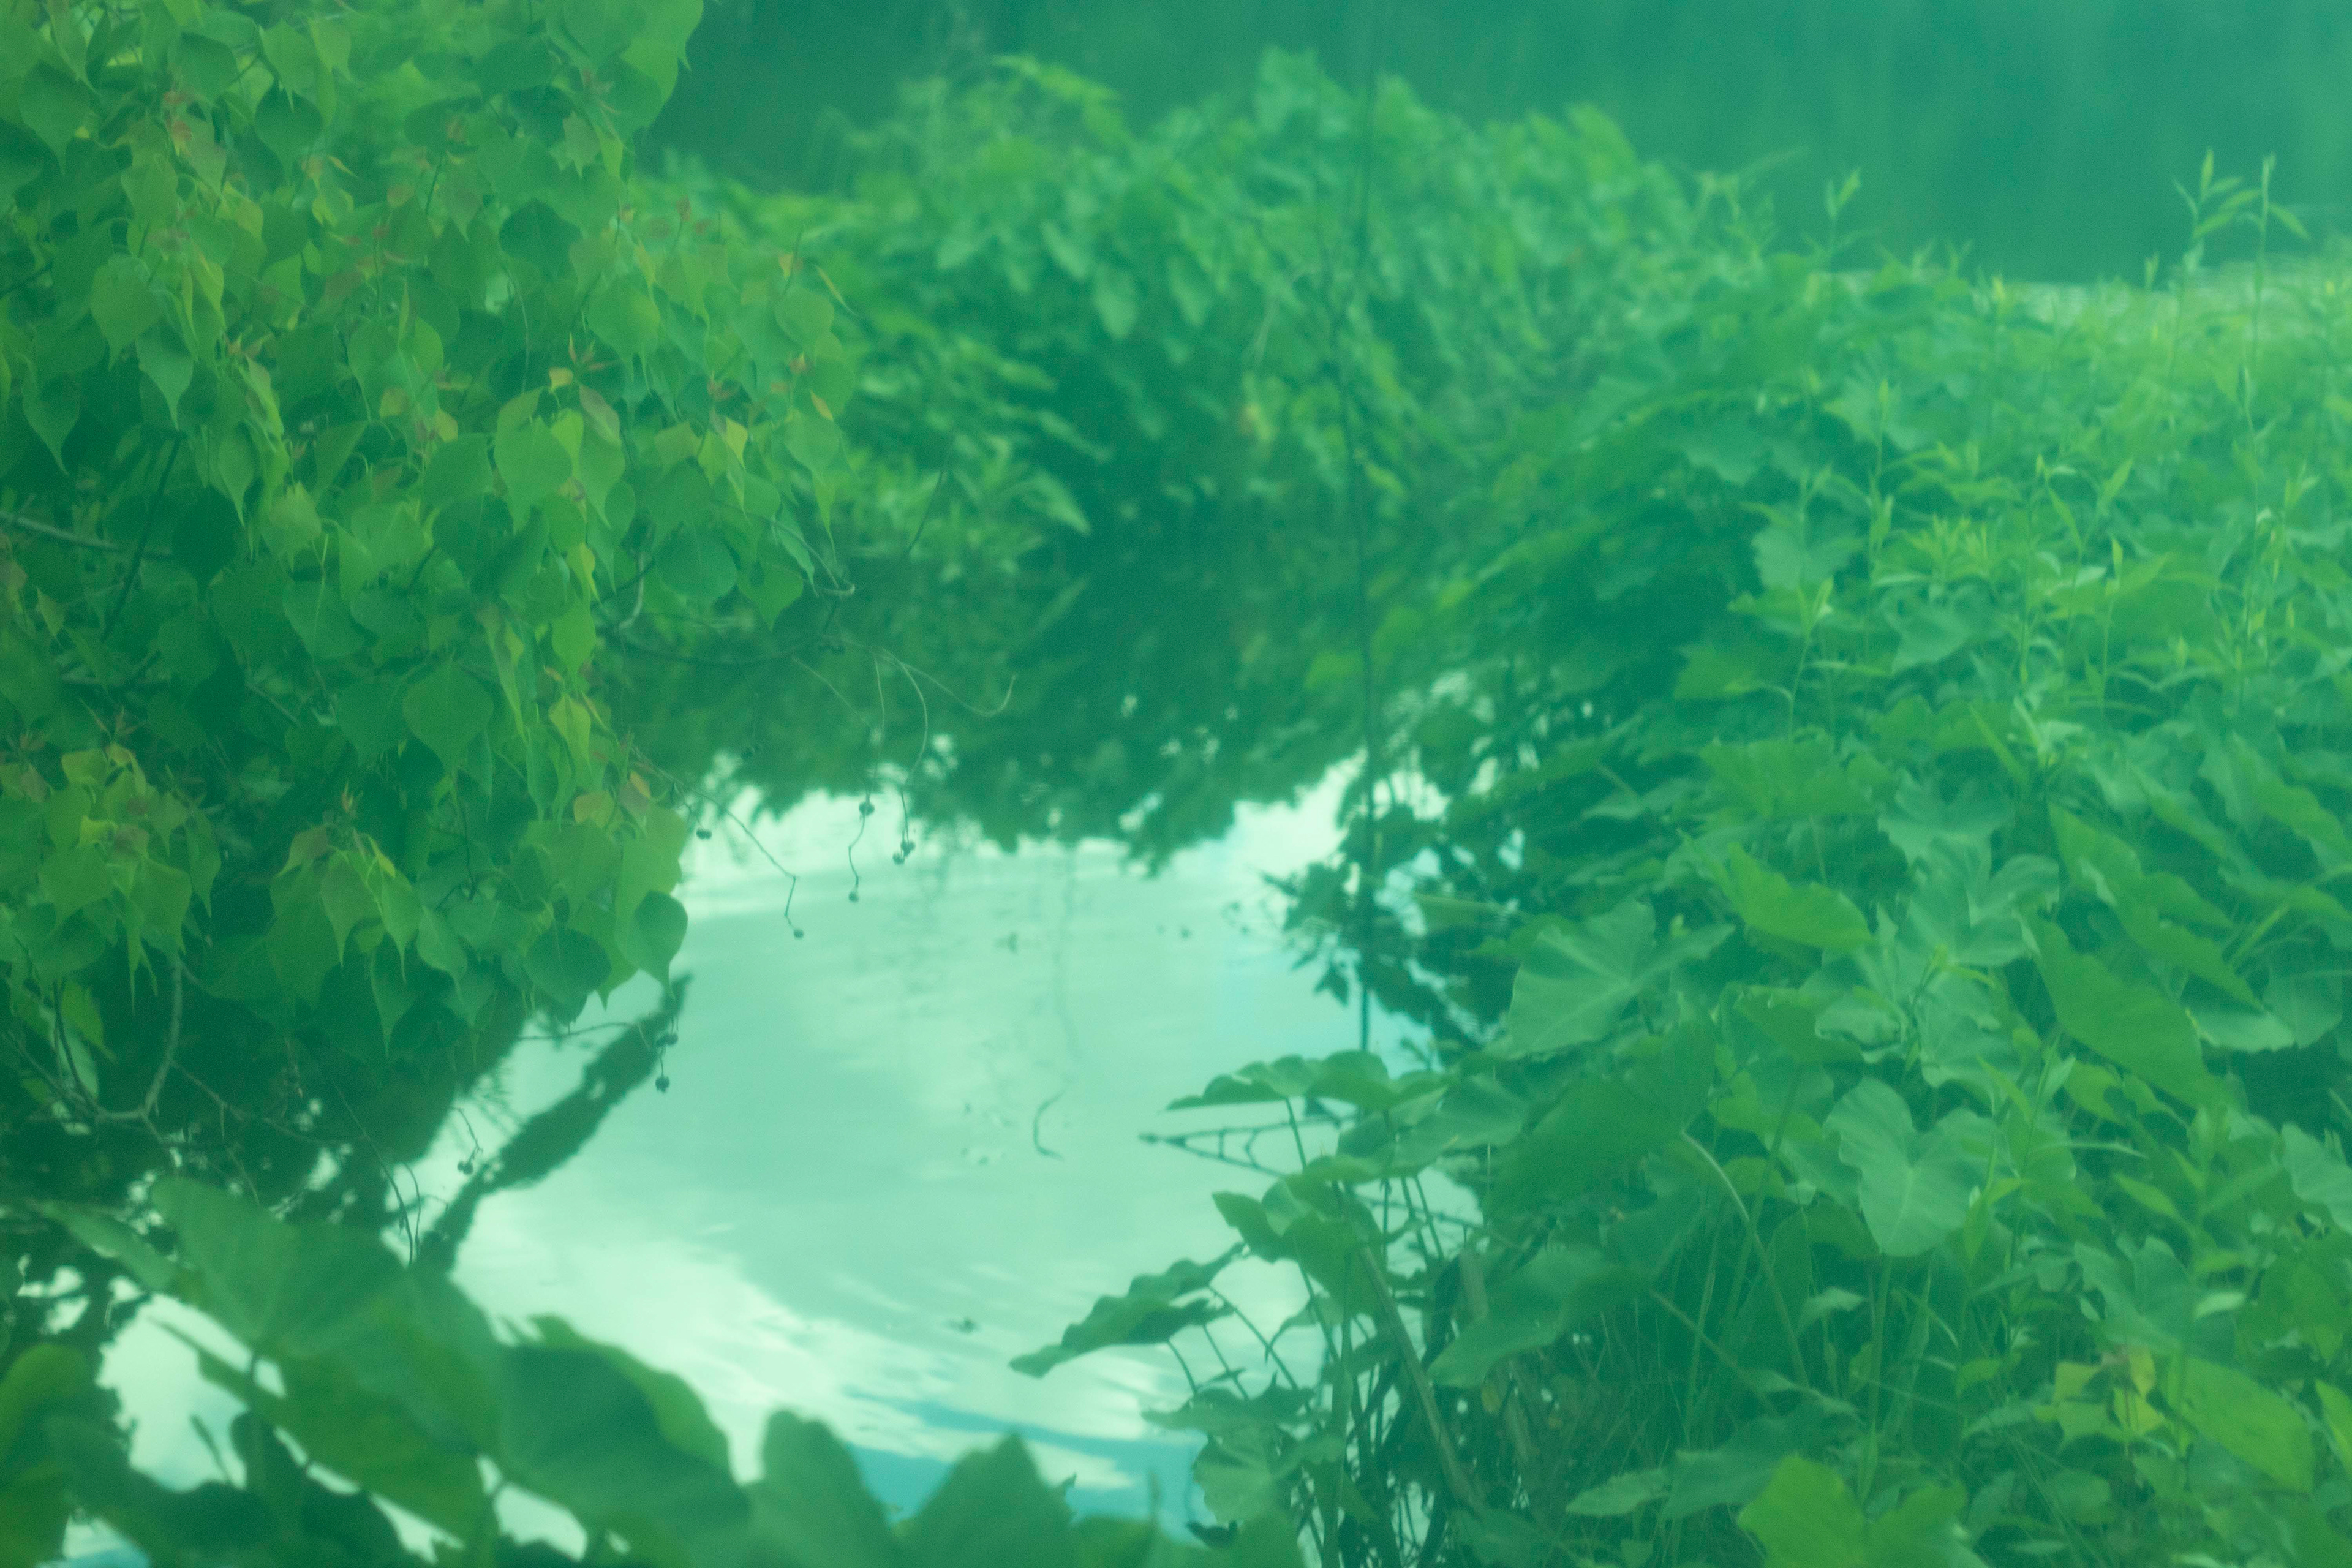
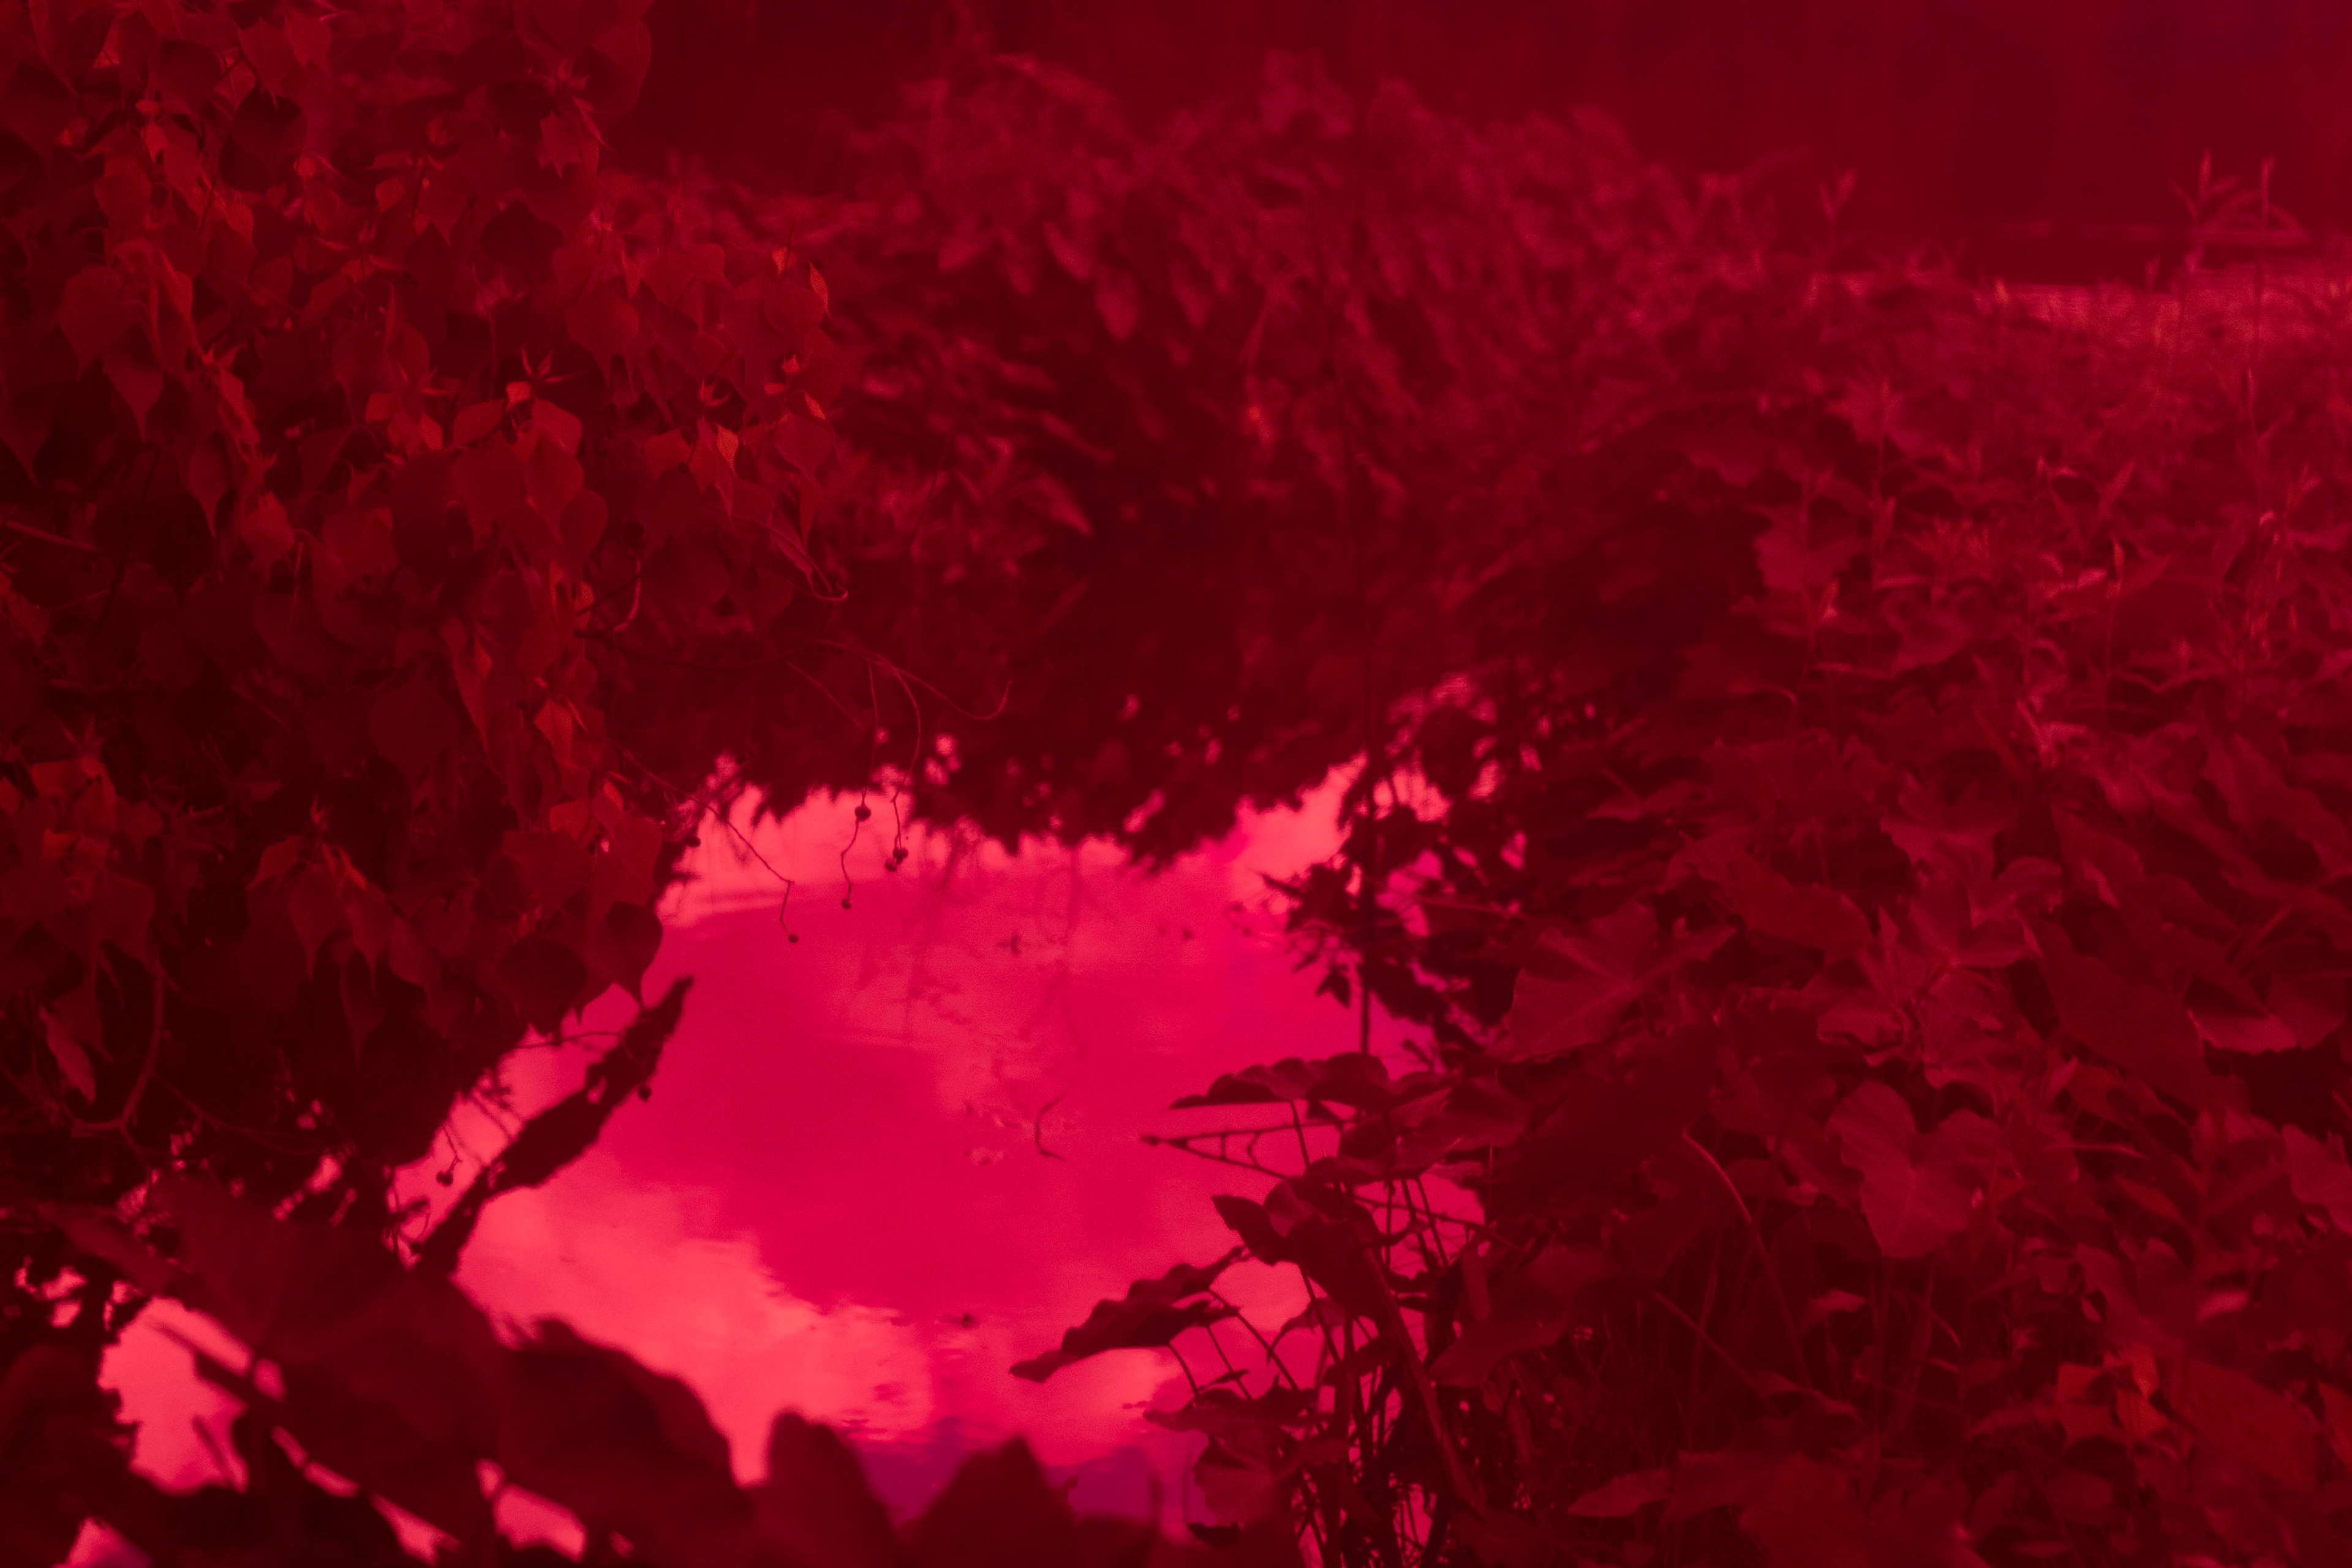
It was crucial that all of the images were the same size and also in a grayscale color mode.
Once I converted all of my images, I merged the channels to recreate the look of Aerochrome. To do this, I converted the channels to RBG and then put the infrared photo in the red channel, the red photo in the green channel, and the green photo in the blue channel.
(infrared red green)
After this, I just made minor color and lighting adjustments to make the image look more film-like. Any discrepancies in the colors are just where the breeze could've moved a leaf, for example, and caused changes in one of the images to make them not line up.
Due to the nature of this process, these images were not as high quality as my kirlians and pinholes, and I chose not to showcase them in our student show to maintain the integrity of the other 2 processes.
Final Images:
Conclusion
I really enjoyed this project and learning about processes I wasn't familiar with. I feel like this project has allowed me to grow as an artist and has taught me a lot about the creative process. In the future, I plan to continue working with these processes and incorporating more of them into my work, whether that is photography or more traditional design.
This project was awarded "Best in Photography" in Vizagogo 2023.
